-
Chocolate Espresso Biscotti
I adore coffee, there are few smells that make me as happy as the smell of coffee. I can understand why people have coffee addictions (myself included) and how the aroma truly makes or breaks ones morning. Luckily, I now live in a country that is equally passionate about coffee, good coffee. When I came…
-
Zucchini Bread
Is it a zucchini or a courgette? Its both, in America, its zucchini, in the rest of the world, its a courgette. No matter what you call it, you’ve probably eatten it as a vegetable in a savoury way. I enjoy challenging the pallet and the mind and baking sweet things with zucchini, from breads to…
-
Breakfast muffins
I love a muffin! Sweet or savoury, they are filling and can be either a meal or a snack. Muffins aren’t really done here in the Netherlands. You see them occasionally and if you see them, its like super standard (boring) flavours, blueberry or chocolate. I was thinking of what I could take in to…
-
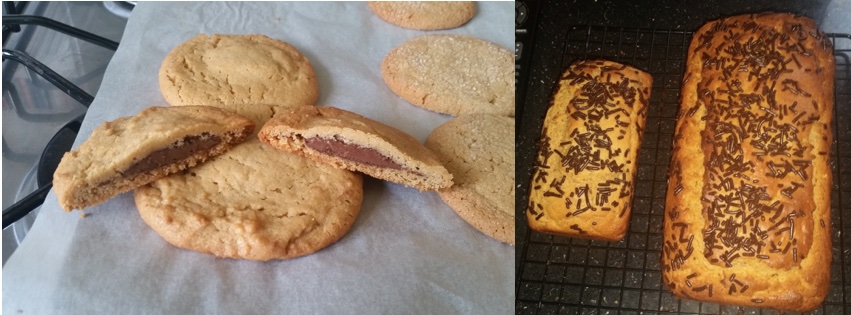
Banana Bread
I really love cookbooks, I have two types, the first being the cookbooks that seemed like a good idea at the time to buy but when Im looking for inspiration I never find anything I want to make but they look pretty. The second type is the cook book that I go back to over…
-
Gluten Free Rum Raisin Carrot Cake
I recently discovered I am married to my job, Ive been doing crazy hours and I have actively started getting into my office for 6:20 each morning. Sometimes you have a realisation and realise its not for fun or giggles and that if I want to be married, it shouldn’t be to the corporate world. …
-
Chocolate Pine Nut Tart
I was recently made an honorary Dutch citizen, sounds exciting, right? Yeah, this means I was hit by a car whilst on my bike (if it weren’t for bad luck, I’d literally have no luck at all). Luckily it wasn’t my fault even though the car driver really wanted me to think that it was…
-
Pumpkin pie from scratch
This is one of those instances where I happily go to back to my American roots. I scream, you scream…oh wait, no, no, wrong edible reference. Its autumn, the leaves are turning and there is a chill in the air, you see pumpkins in the stores, at the markets and on peoples porches. Yeah, they…
-
Peanut what? Peanut Butter!
Learning to bake in the UK has been an experience for me and learning how to substitute ingredients for other ingredients has been a sharp learning curve. It turns out there really is no substitute for American peanut butter. Peanut butter from the UK and other European countries does not melt when cooked (which was…
-
Subscribe
Subscribed
Already have a WordPress.com account? Log in now.
