For the purpose of this blog, we will be calling what is being created as “arty cat boxes:”, much more catchy than a ‘art cat bed’ which they are found as under google.
When I first came across these super cute boxes a month or so ago, I knew instantly that I wanted to make my own. Over the last few weeks the boxes have become much more trendy and visible on the interwebs. I will give full credit to the original creator The Meowseum, I know, I know, GREAT name! However, what I don’t like about the original or the knock offs on Amazon and etsy (the price is crazy!) is that they are made of cardboard. I want a product that will last and not look tatty (after being used as a scratching post).
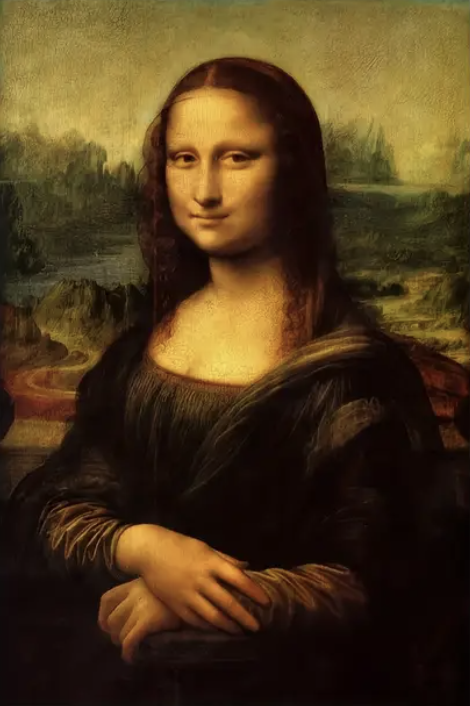
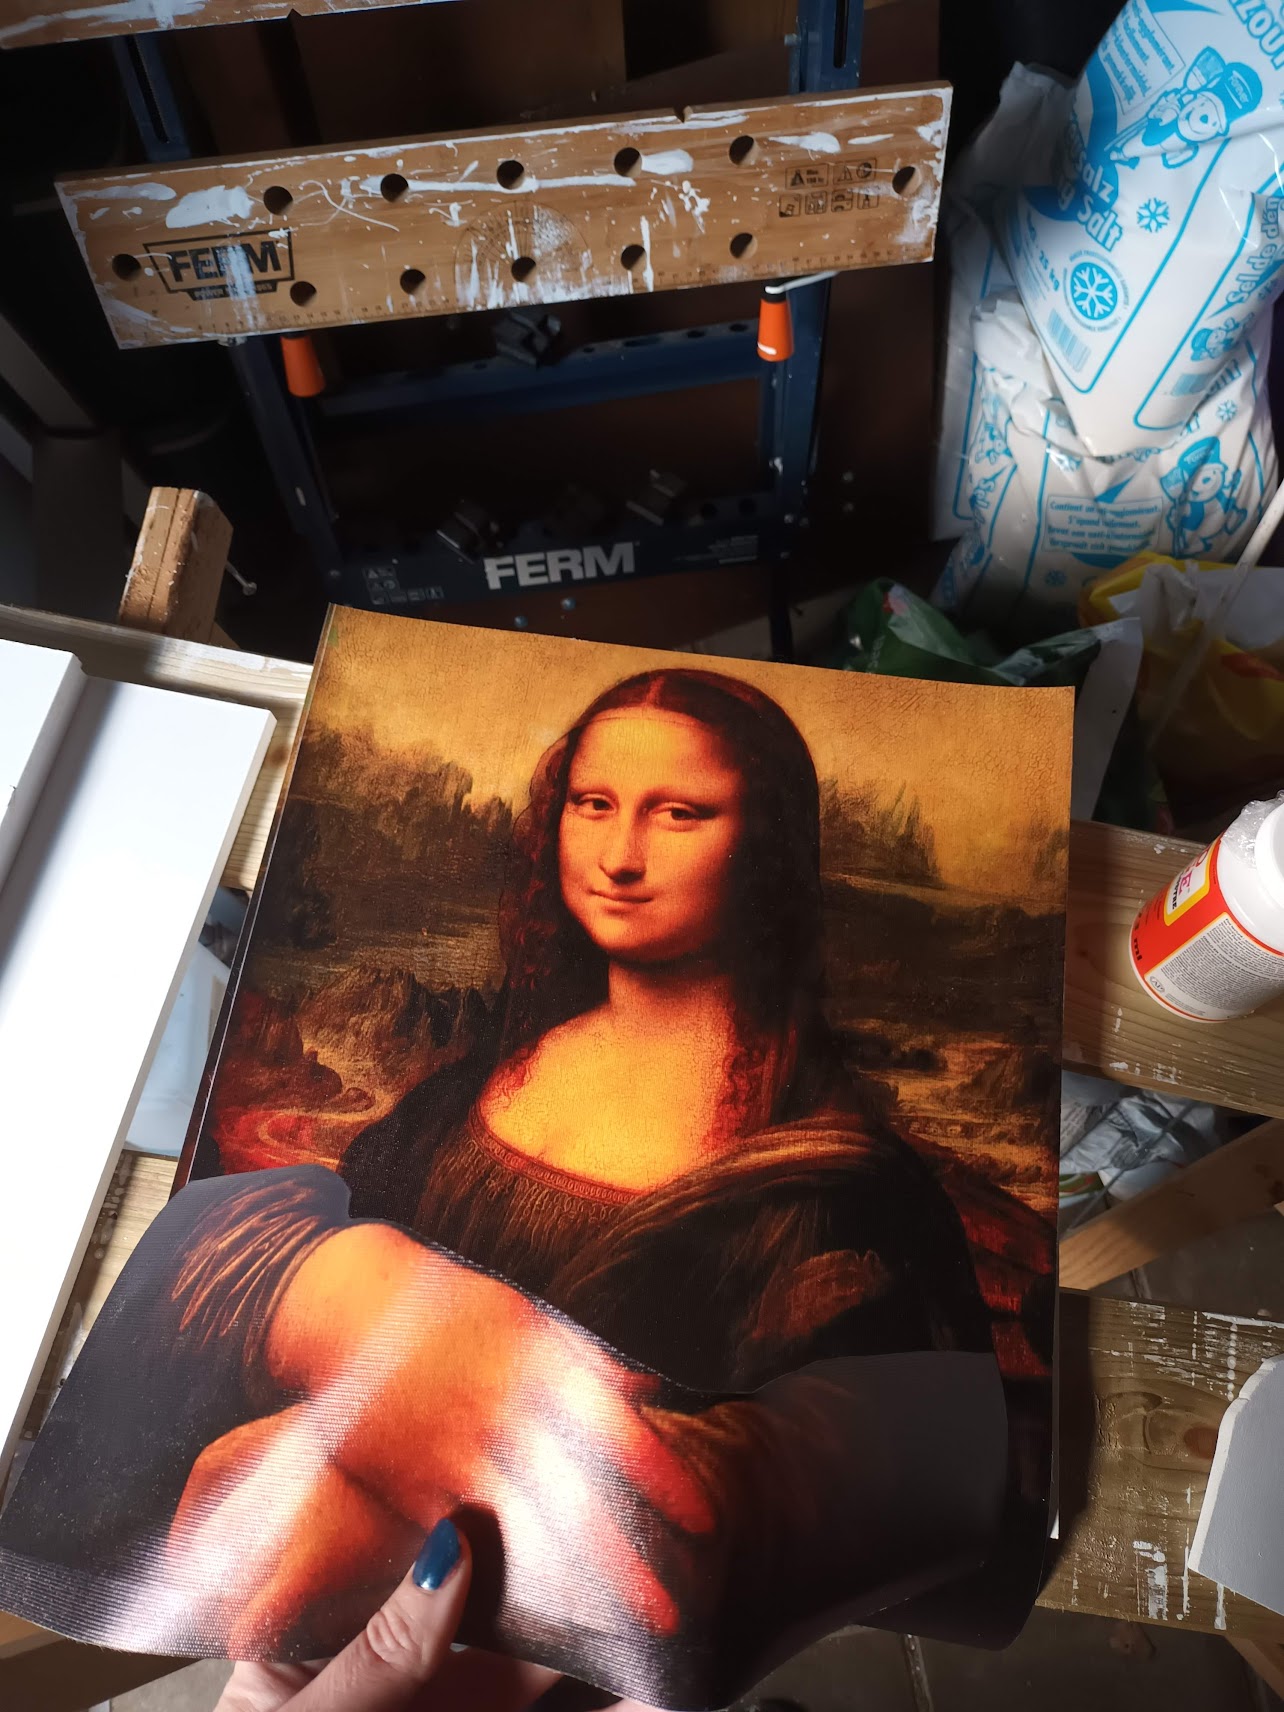
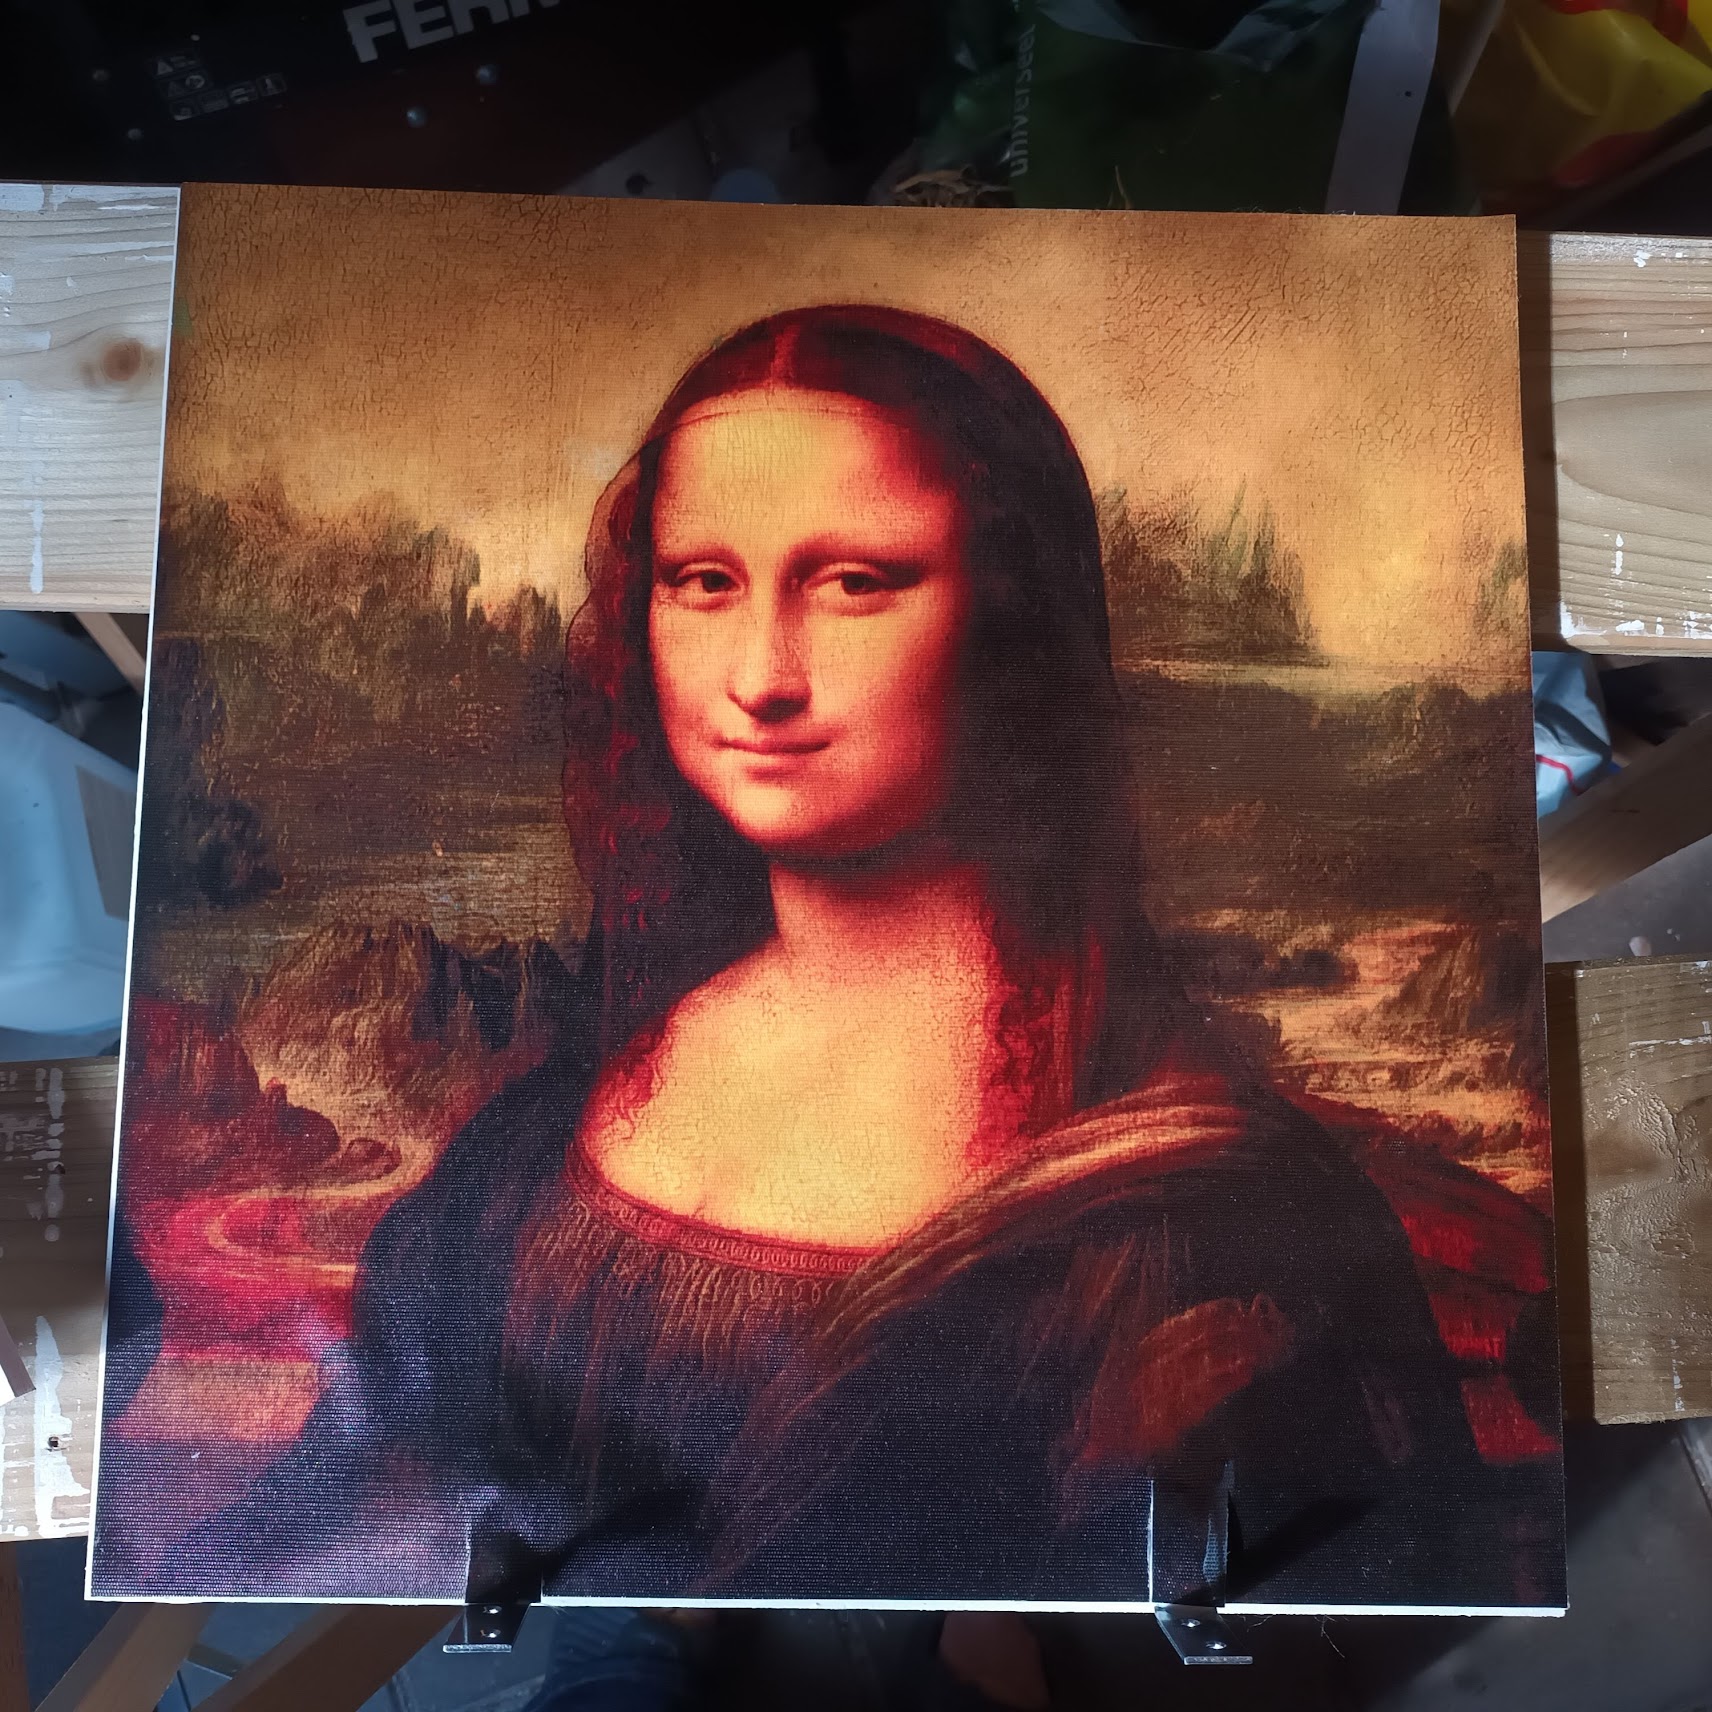
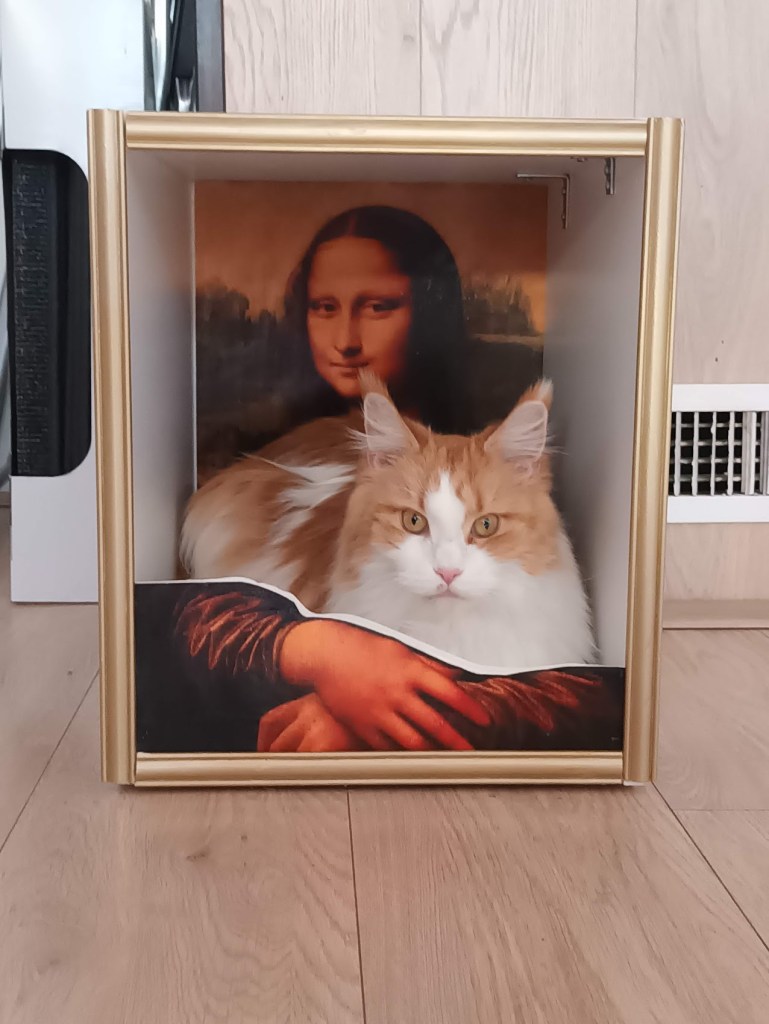
This is where the challenge then began to make my own. I looked at them and thought, “I can do better!”. Comparing the two boxes and knowing my own very particular pampered princesses. I decided to opt for a full box, like the Mona Lisa, as oppose to the Starry Night, which is more of a half box and far more open.

What you’ll need to make your adorably cute arty cat boxes:
* Wood – ideally cut down to the size you choose, Id suggest 30X30cm, with each box requiring 5 sides.
* Wood glue
* Screws
* Border trim (if you choose to use it)
* Wood plugs/dowels – getting the smallest size possible that still leaves room on the edge of your wood
* Wood primer
* Wood paint – pick any colour of your like or multiple colours
*Posters – ensure that the poster size will fit within the size of your box
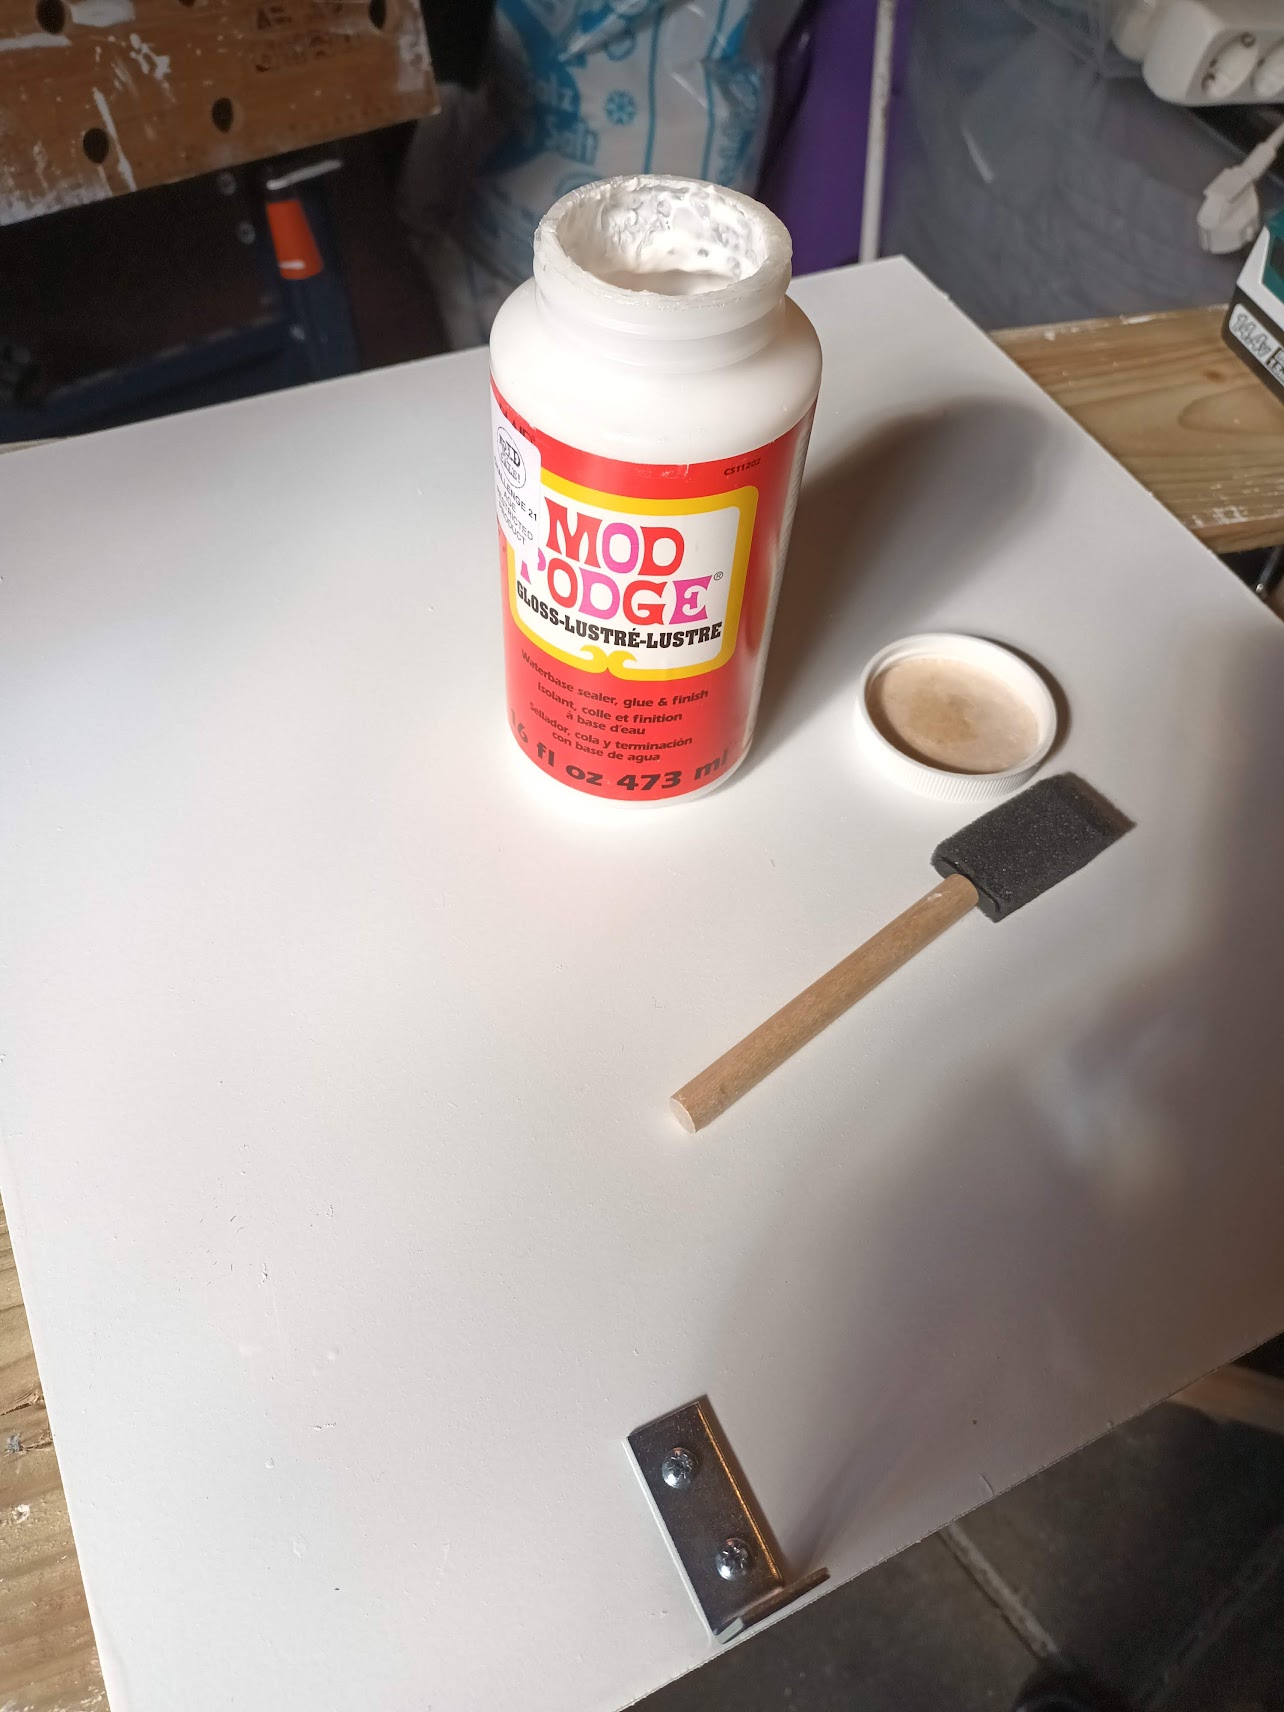
* Mod Podge, I prefer the gloss version
* Gloves – to keep your hands clean
* Painting supplies – small paint roller, roller covers and paint tray (and liner, if you choose) I used a 4in roller
* Screw driver and appropriately sized drill bit for the wooden dowels
* Rule, crafting knife and cutting pad
* Electric jig saw and handheld sander or sand paper
* Any decorative extras you’d like, such as rubber feet
* Patience – this is something I required a lot of
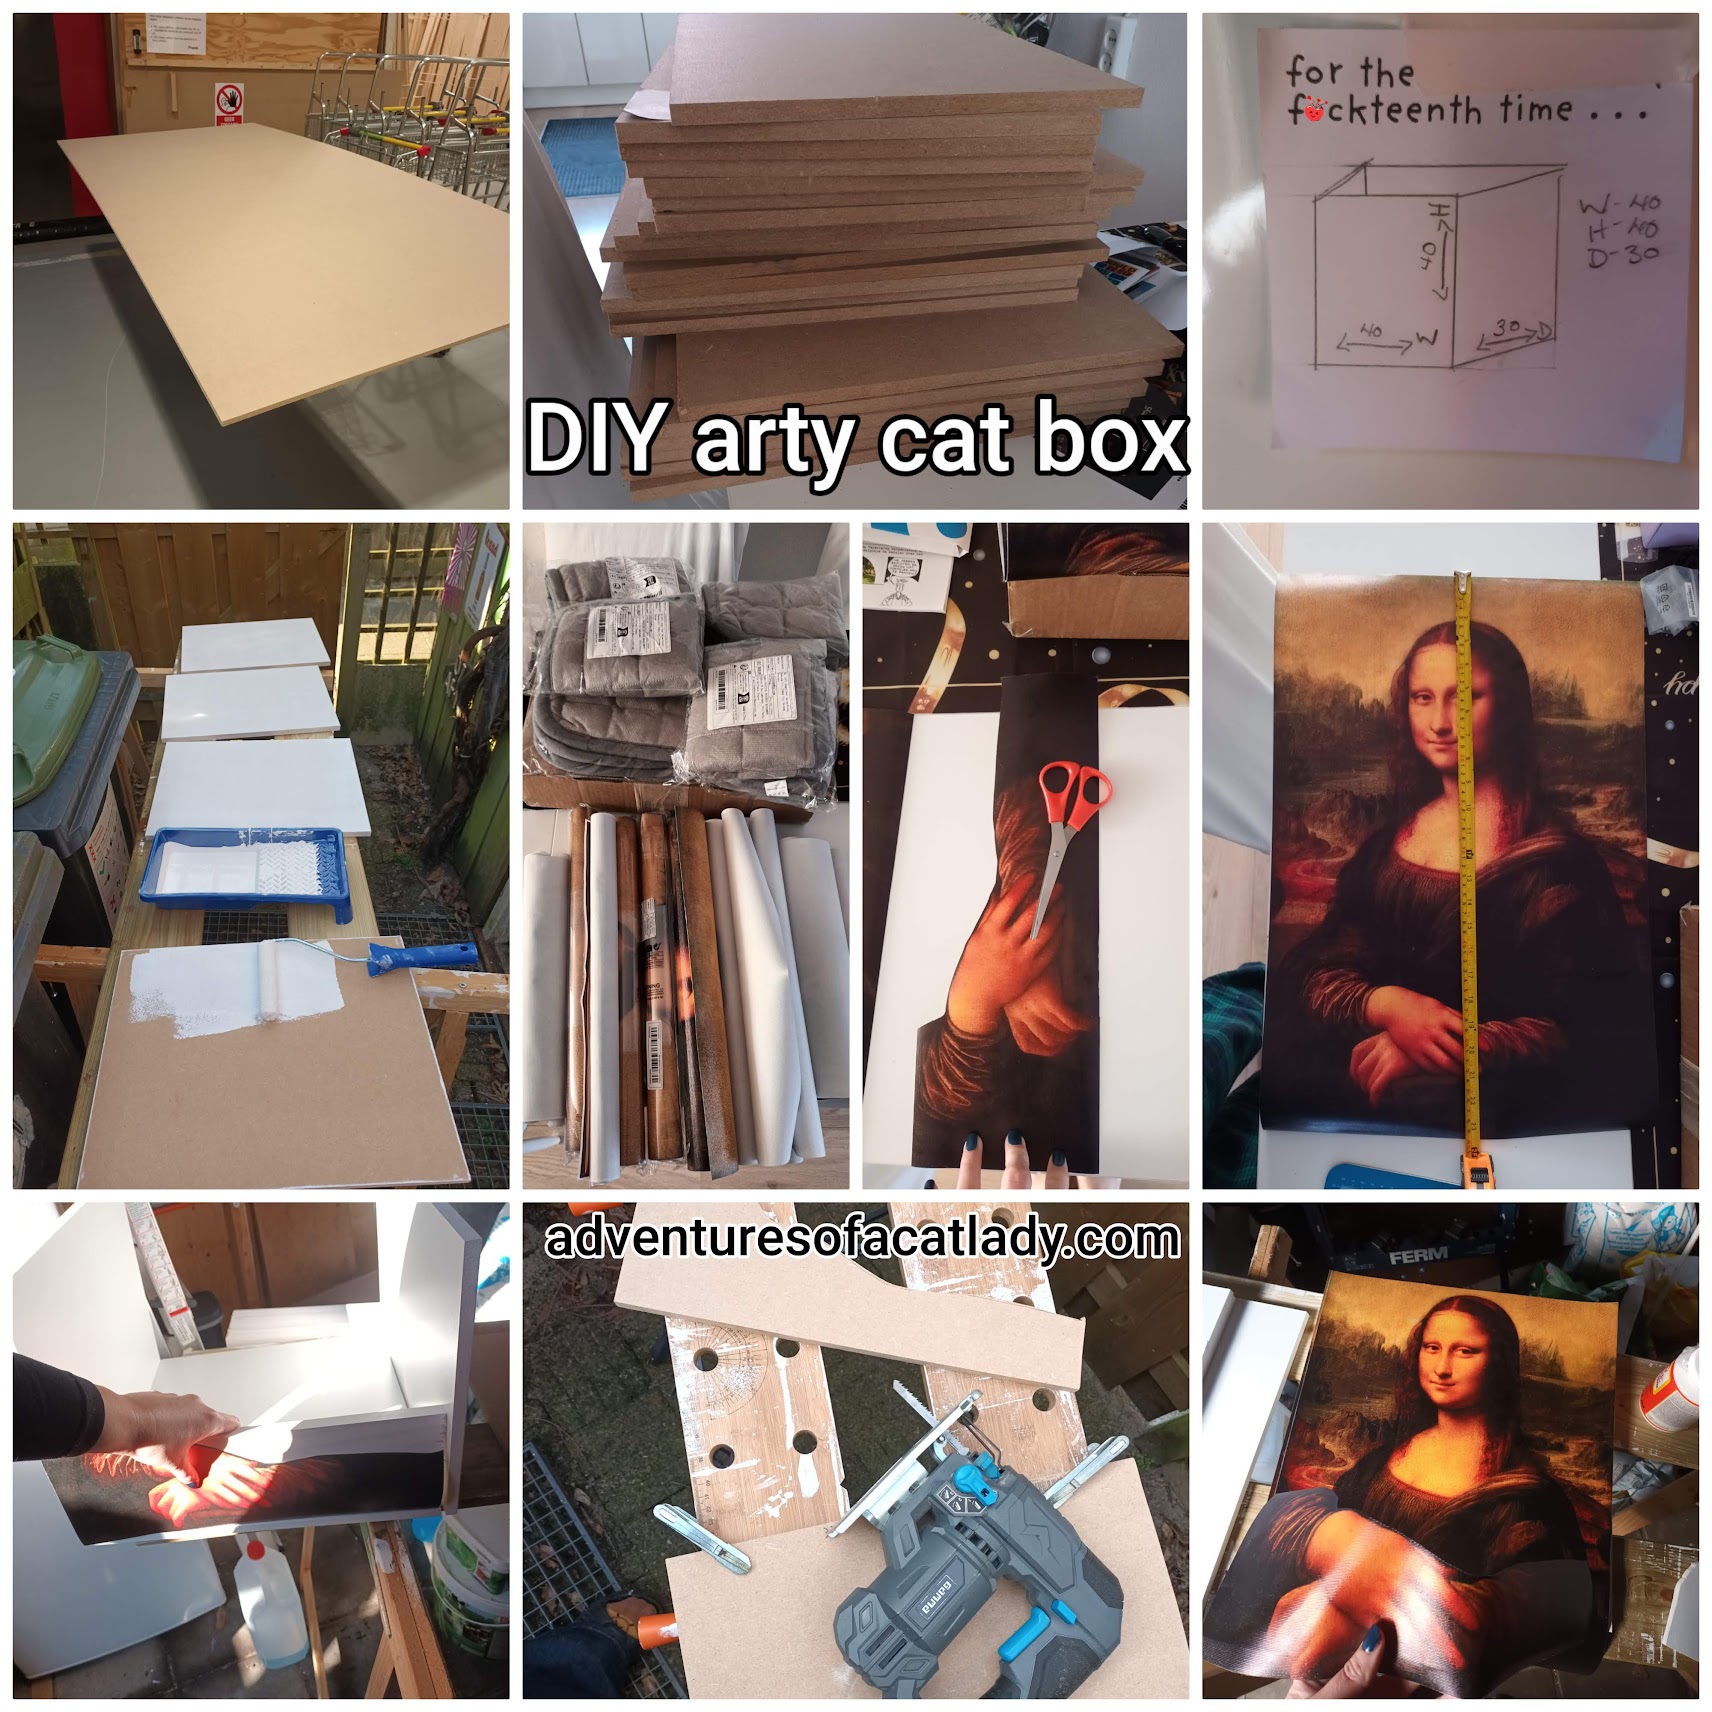
Heres your step by step tutorial to creating your own cat boxes, like I have!
- Decide what type of wood, you would like to use. Honestly I didn’t really consider this until after I had bought MDF, had it cut down and then looked at priming it. I then came across various articles of priming it and how MDF should best be used. This made me decide that next time I will use wood rather than MDF. However, first run will be MDF.
Seriously, learn from my mistake, do NOT use MDF. Why you should NOT use MDF, turns out its really not made for building things and there is a good possibility that it could split when screwing into it. I originally wanted to screw all the edges together, however, this is a terrible idea with MDF.
Please follow the below steps using WOOD. Remember that your wood needs to be thick enough that you screw the edges together.

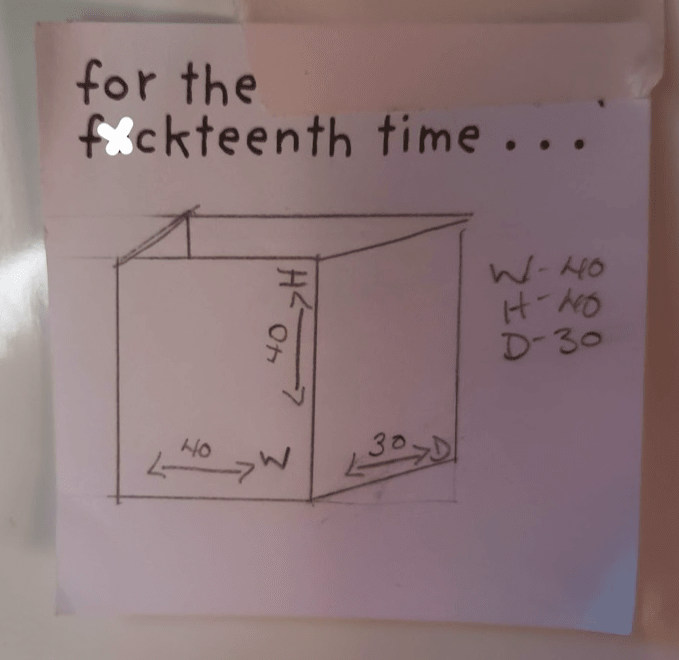


2. Decide on the size you want your boxes to be. This is where I seriously struggled. I originally thought 40X60cms but when I measured it out, I realised that it would be massive, even for my Maine Coons. I then looked at 40X40cm but also thought this was a bit big. So I settled on a mix of 40X40 base, back and top and then 30X40cm for the sides.
For smaller sized cats, I would suggest to go for 30X30cm for the entire box. The mix of 40X40 and 40X30 is the right size for my (smaller sized) Maine Coons.
I’m very lucky that my local DIY store cut it all down for me and that was not something I had to worry with, as cutting wood is a messy business and getting straight cuts… good luck.
Front lip: Where you choose to add in a front lip (Mona Lisas arms), then you need to remember to buy extra wood for this or most certainly plan for this within your wood. (This was in no way in my thoughts when I was having the wood cut and I completely forgot. I also wanted to measure the posterss sizes of the arms to understand what height I would need.)
3. Posters. Decide where you would like to buy your posters from, the appropriate size for the box shape/size you have chosen and order them. I got overly excited, slimmed it back and even then still ordered more than I needed. Below are posters that I ordered. I ordered 2 posters per box, thinking I would need to cut them down. However, it worked out that I only needed 1 poster, even with cutting it down.


This is when the posters arrived and as I was unpacking them, I thought I must take a picture. Also you will notice the pile of cat beds. As I was ordering the posters, I decided to get cat beds too. Lets make it snug. It also felt weird to go to such efforts to create a cat box/bed and then not have a cushion/bed within it.

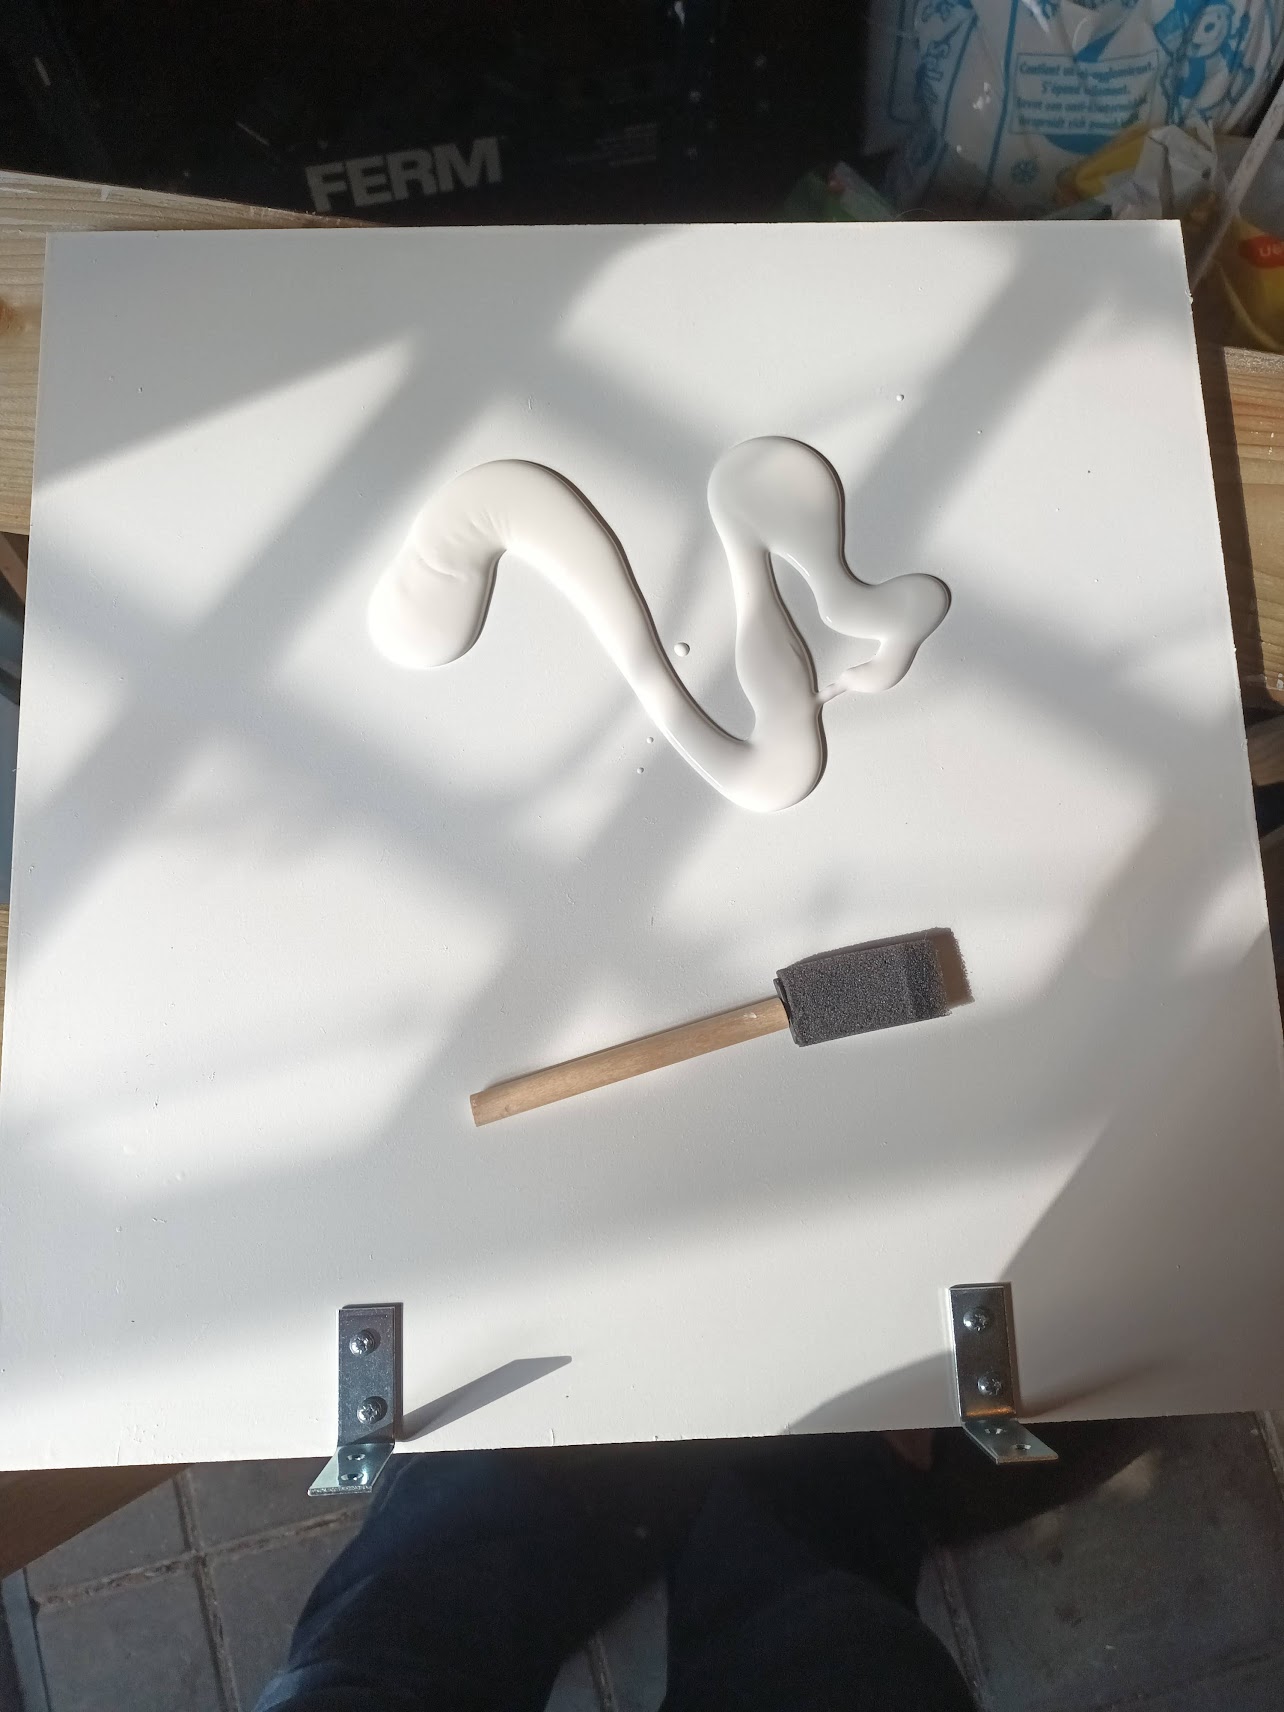
4. Priming your wood, this is vital, regardless of what type of wood you use. Depending on what you’re using, you should use a wood primer, doing two coats before you then put on your final colour, which I also did two coats of. Whilst I bought several colours of paint and have many many more ideas in my mind, I decided to start out with white.

5. Where you will have a front lip, this is now where you need to do what you need to do. For the purposes of Mona Lisa, there were several steps involved.


(This is where I should add that you need to ensure that the width of your box matches the width of the back/poster. I did not even slightly consider this and the arms and 3/4 of the box were done in 40W X 30H, where as the poster was at 40H X 30 width. This added a few more steps at the end to recitify).
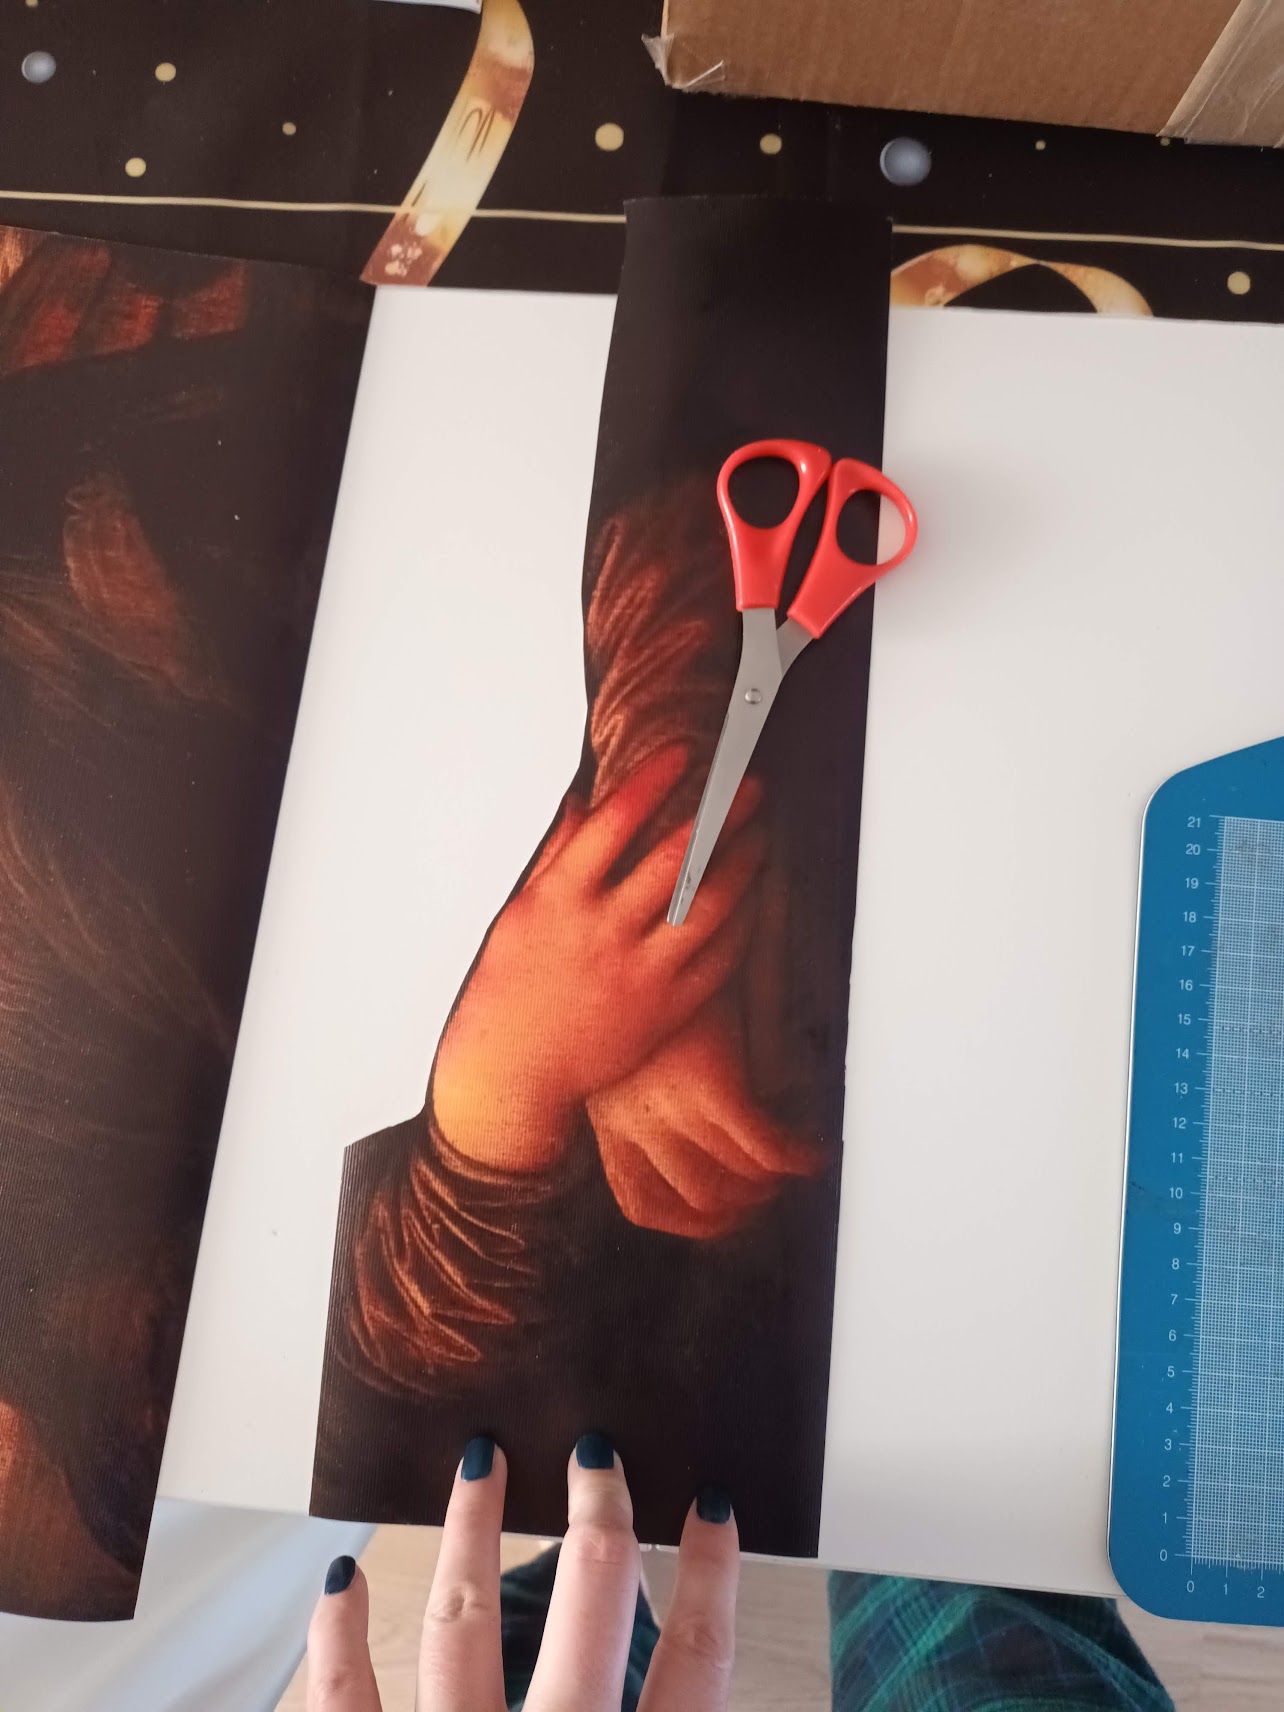
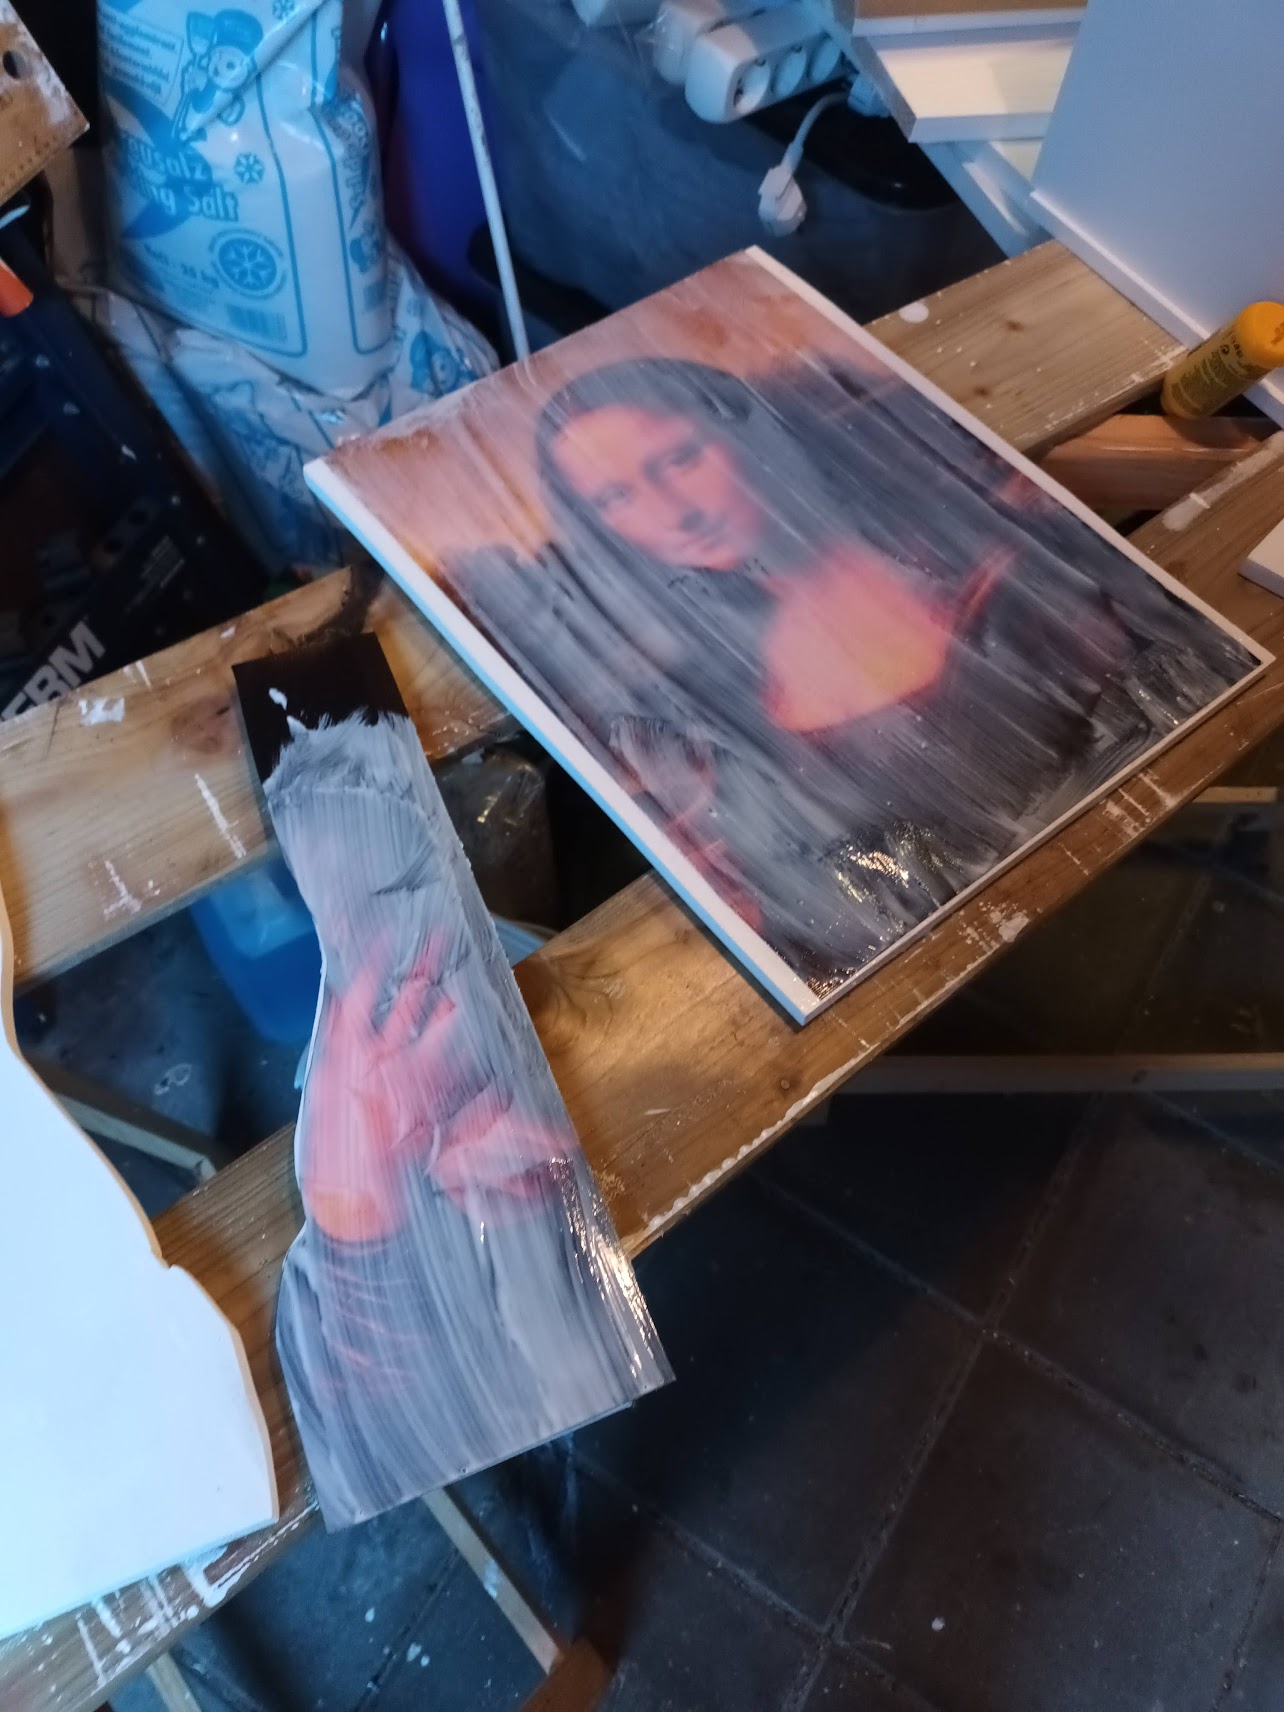
– Firstly I cut the hands from the main poster. I measured the height and at the tallest part of the hands (left) it was 20cms, which I thought was too big. I then decided to cut it down. I removed some of the bottom of the poster and then also removed a bit from the top as well. I then compared to this the poster and ugh, I wasn’t sure, as you can see from the first picture. It goes arms to neck, which isn’t very accurate. I then measured out the full poster, took some of top off off the main poster and honestly hoped for the best.
– I then got a pair of scissors and out around the top of the hands. It is VERY important that you don’t do this with great detail. As what you trace out is what you will need to cut with a jig saw.
– I then put it against the box to see how it would look an I was happy with it, in terms of height. I did decide that the bottom 1.4cm of the arms would also be glued edge of the box. Which I then needed to remeber when I tracing out the shape, to reduce the size 1.4cms (which is the width of the MDF I used).
– I then compared the arms again to the poster and it looks much better from neck to arms and again, taking the approach of hoping for the best.
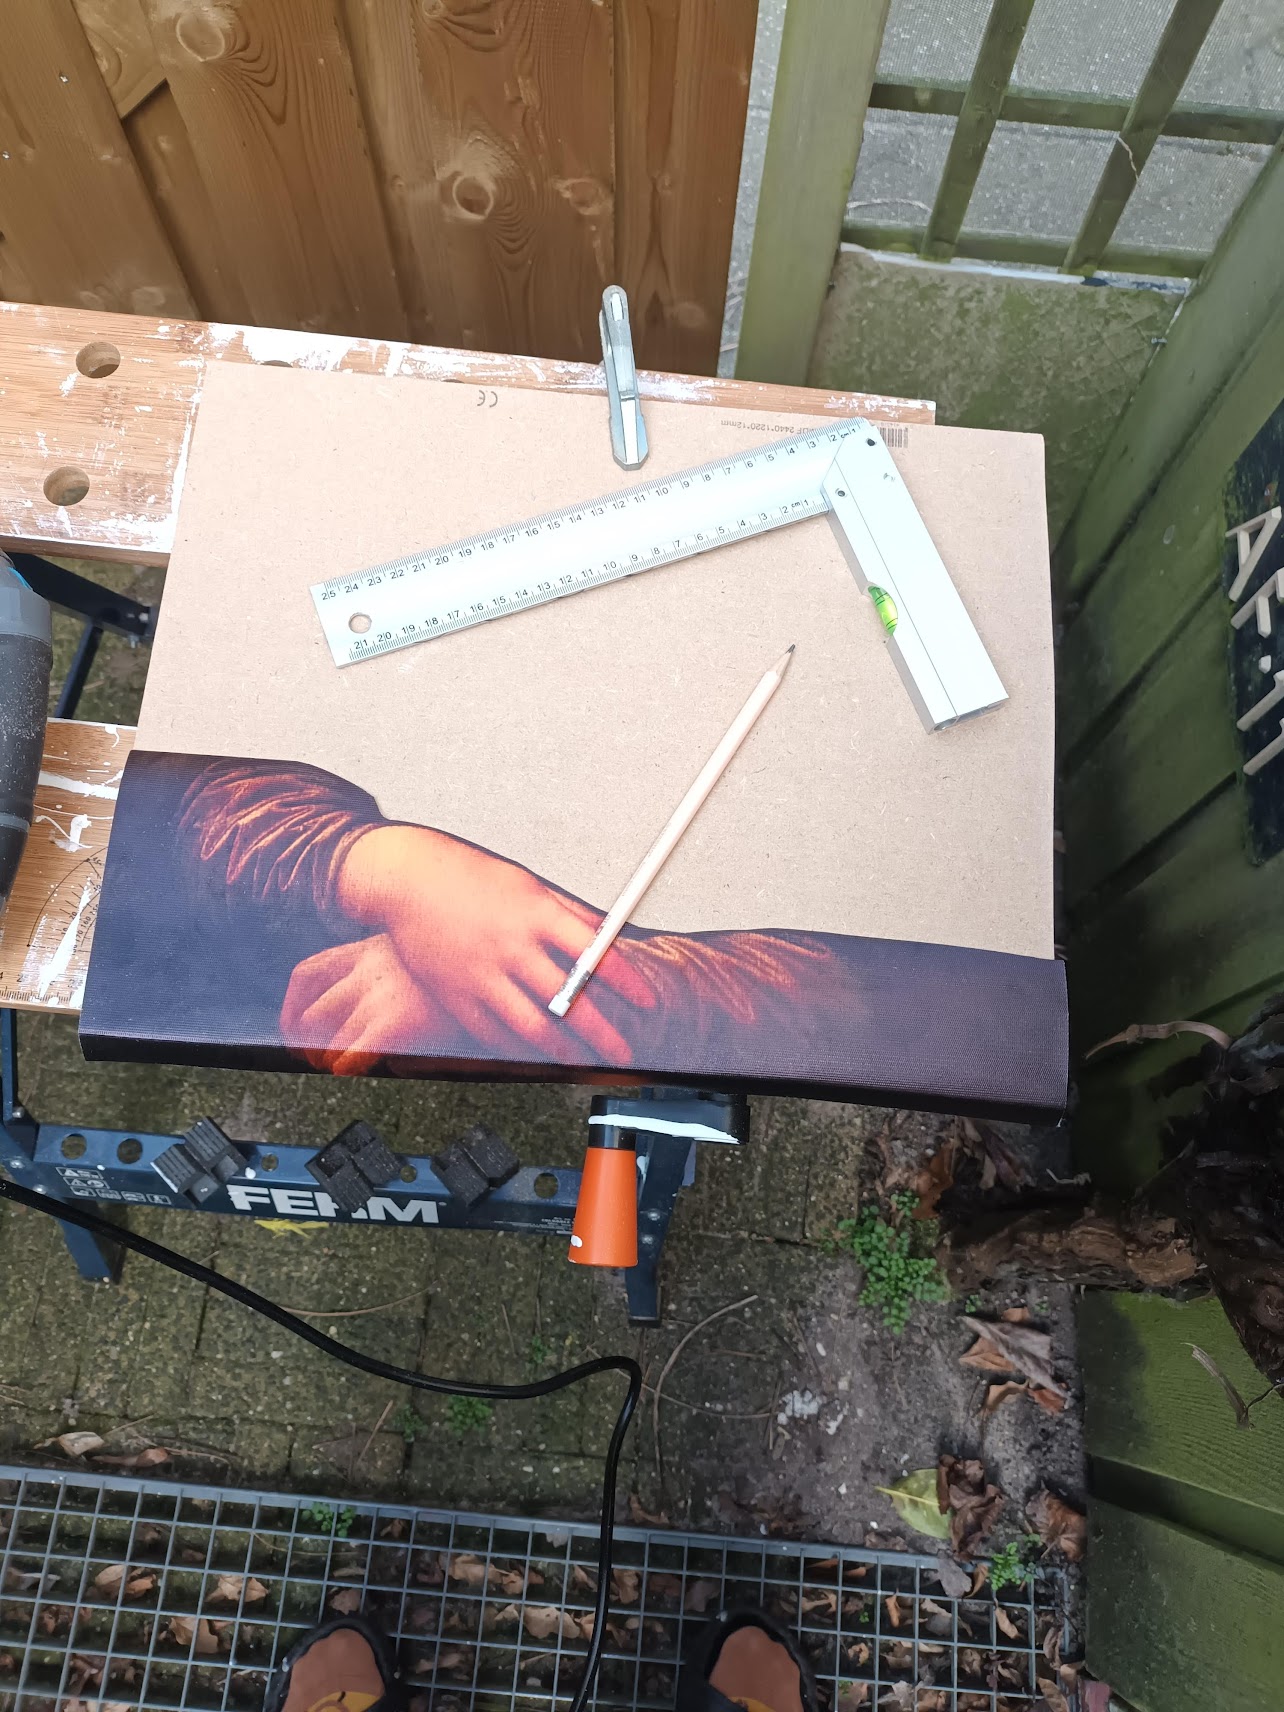

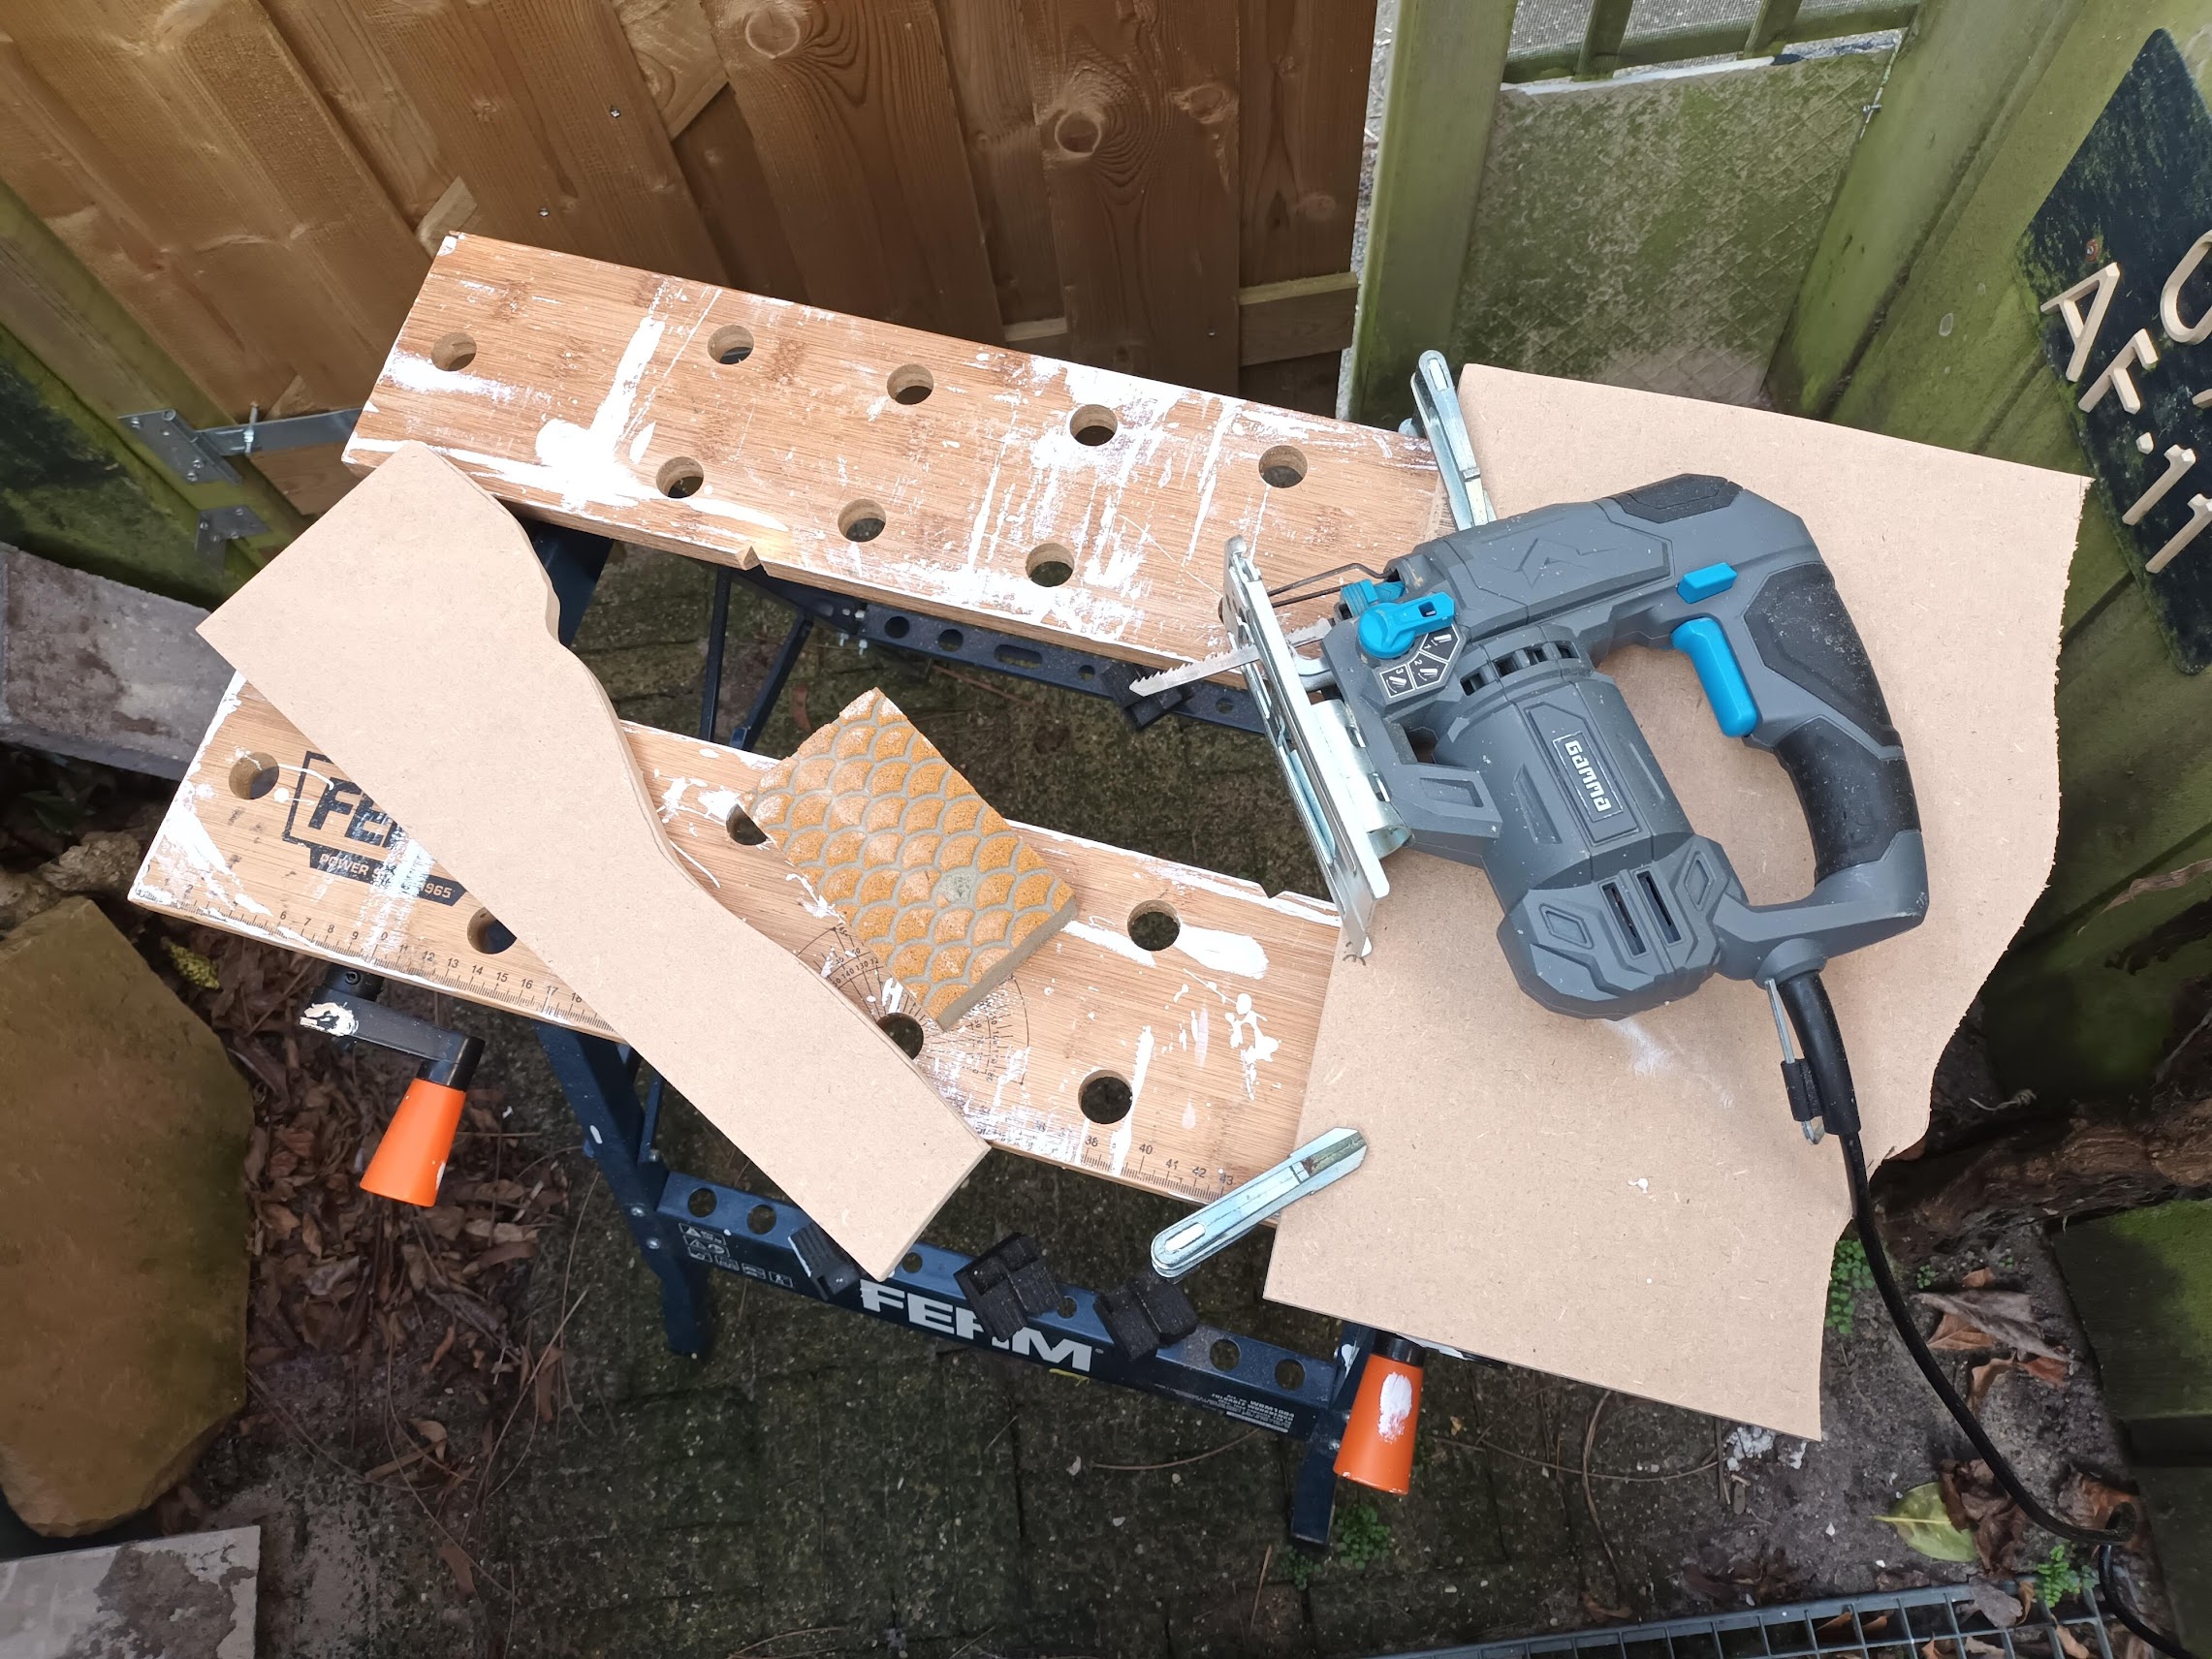
– I then traced the shape onto the MDF, remembering to remove the 1.4cm extra (thats what a used the ruler for, to mark and fold the poster at the marked point. Now came the job of cutting out the shape. The MDF made this an absolutely filthy job. I then took a handheld block sander, sanding down the edges. I also put the arm cutout over the wood to ensure alignment. There was a bit of difference in some areas, where I did need to go back and cut small bits away and then sand it down again.
– As the arms sit within the box or 2 side pieces, I needed to trim down the section of MDF to allow for this difference in size.
– Prime and paint this section. I did 2 layers of paint in addition to the primer.
– Attach the cutout using Mod Podge.
6. Decide how to put your box together. In an ideal world, I would screw two screws into the edges of each piece, connecting all the sides, also using wooden dowels for extra strength (this was the original plan) and wood glue. However, because I’m using MDF, that is NOT an option. After having put some thought into plan b, I bought brackets which will allow me to connect the pieces and quite frankly have hope for the best.
Its all in how you screw it in. Consider all the options and how the pieces fit together.

7. The poster. You will want to glue in your poster to the back piece of the box. You also need to measure your poster against the size of the box. For instance, I know that with all my posters I purchased that I needed to cut off 20cms on each one, as the box height is 40cms and the posters are 60cm. I did this step whilst priming the boxes and to understand where I wanted Mona Lisa to sit oh the back piece, how much space about her head, where the arms should sit, etc.
Use Mod Podge to attach the poster to the back piece of wood. The poster itself is like a thick canvas, as oppose to thin paper, which part of me thinks would have been easier to handle. I poured a good amount of Mod Podge on the back piece, spread it out, ensuring a thick layer and then put the poster on top of this and allowed it to dry. If you are using a paper or thin poster, I would absolutely advise you to cover the front/top of the poster with Mod Podge too. I decided to throw Mod Podge on the front to, as Im already going to all the effort… might as well.
(I also realised that the brackets I put in, werent level and were making my life more difficult, so they were removed)

7. Assembling your box.
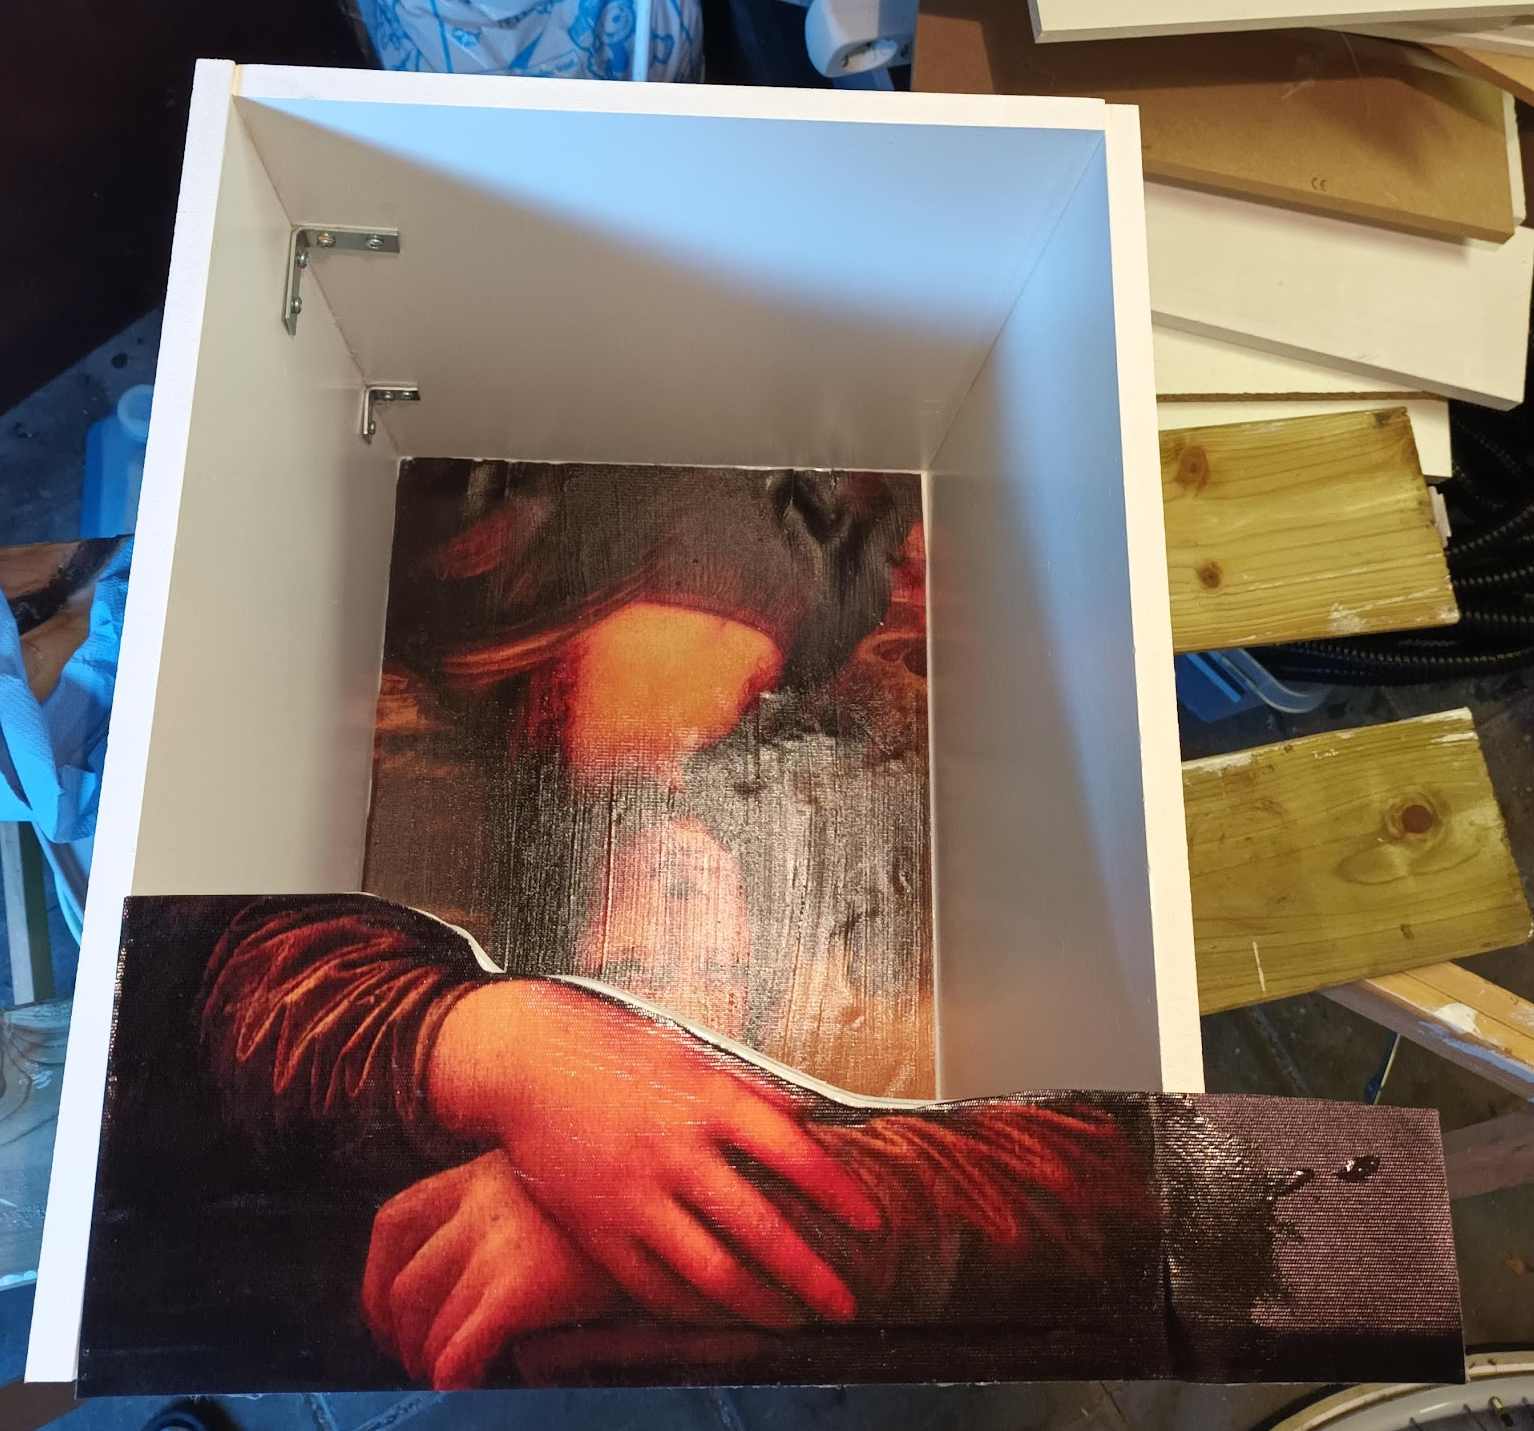
As I’m using MDF, I’ve made this ridiculously hard for myself (as I do with most things in life). I’m using brackets and wood glue to connect all of my pieces of wood. I will have to also put brackets on the outside of the overall box to help with stability (which will look ugly but it is what it is at this point). I initially put together the outer box and trimmed back the back piece that was the poster. I realised that glueing to the poster was not a great day. I then put wood glue around the edge of the back piece and put the outer shell of the box on top of this. I then put on the arms (front lip) and realised they were on upside down, thankfully I hadn’t glued it yet.
Where you’re sensible and using wood – I would suggest drilling holes for your wooden plugs, putting them in, doing 3-4 in each piece of wood. Also pilot drill for your screws. I would also suggest wood glue on all edges before putting your pieces together, for extra strength.
Where you have a front lip. This is where you now add it in.
I realised that I hadn’t aligned the back of the box with the front of the box and the lip. I was able to fix it, with a saw and much swearing involved. Please don’t be me. Ensure throughout the process that all of your pieces are aligned and sitting in the positions you expect them to.


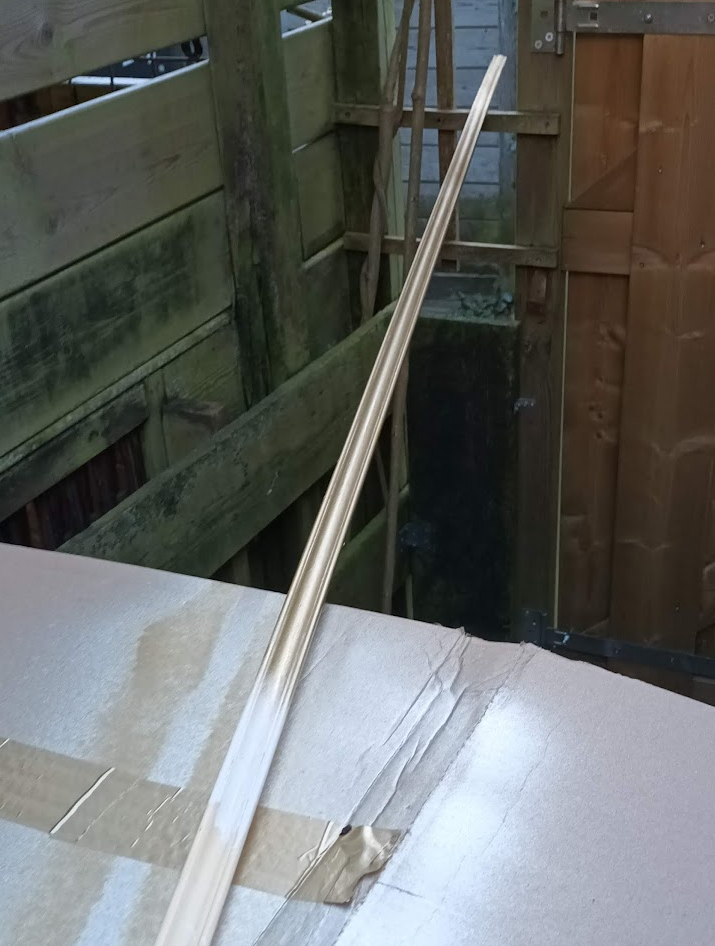
8. Border, this is purely your choice. I thought if I’ve already gone to the above effort, might as well take it a step further. I bought a rather long length of ‘border’ (270cm) primed it, spray painted it gold and then glued it onto the front of the box. There was a section I got lazy with and didn’t prime, this was a terrible idea, as it went silvery?. Seriously, prime the border before painting. I also tried to do angles corners and even after having watched several youtube videos, it didn’t get better. I glued the borders onto the edges of the wood.

TA-DA!! You now have your own super mega very adorable arty cat box!!! Well done you! The next challenge you have is getting your cat(s) to go in it!


After 3 weeks and the finest cat nip I could find, I managed to lure them into the boxes! Penny went first and then after several days and what I can only assume was FOMO, Callie tried the box out and if her snoring is anything to go by, she rather enjoyed it.
This is the first of many boxes I will be making and will share photos of those, as I make them.


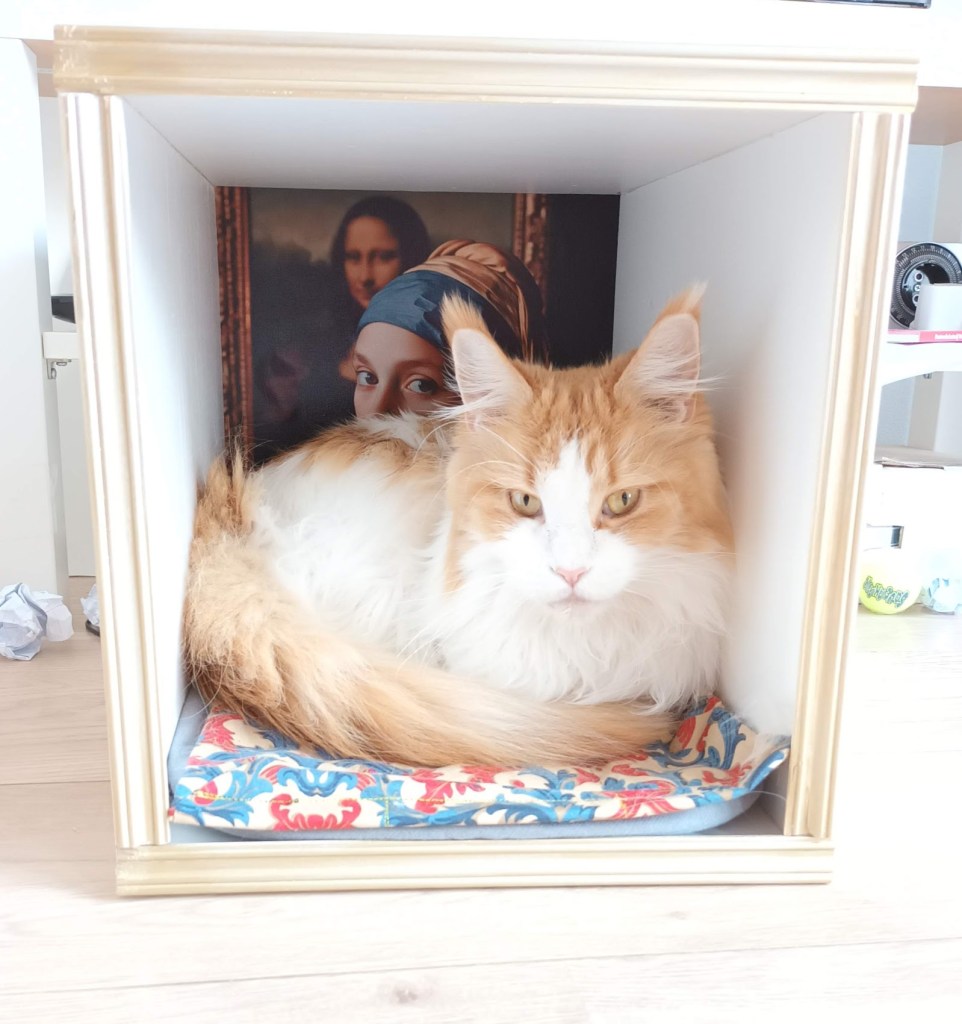
This is the 3rd box that Ive made, I had the wood cut 30X40cm and it it really came out 30X30ish in the end. Id say it’s too small for Maine Coons and to see the back photo. I suspect it would probably work for small to medium sized cats.
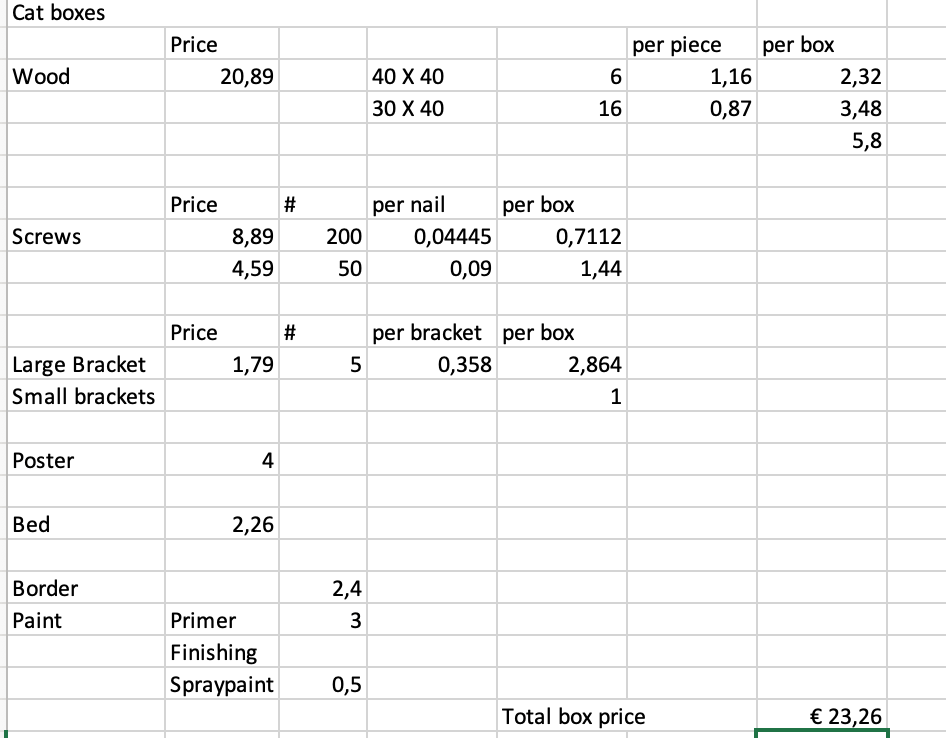
As I love an excel, I also decided to break down the costs and this is purely based on what I bought and in the Netherlands, so prices are accurate based on this (wood=MDF).
I look forward to sharing the other boxes that I create with you. One down and many more to go.

Leave a comment