This is a project that Ive wanted to do for years and I mean years. When I started to look into more seriously, I realised that not all tie skirts are created equally and there are many options you can choose to make your skirt.
This is a project that I started last year. I got really frustrated (with myself) and decided the best thing I could do was to stop until I felt ready to start again. Here we are a year later, in a better head space and the project has now been completed… Most importantly, Im quite pleased with the outcome.
It started with bulk buying ties. Luckily ties arent something that have gone out of fashion and are easily available. Having said that, not just any tie would do. Im terribly picky with many aspects of my life and this was no different. I was looking for blue(ish) ties and found ties from Dutch businesses, which all happened to be in various shades of blue. I then went for the fun factor, choosing cartoon characters. I think in total I probably bought close to 80 ties? When I’m in, I’m in…

I looked at many other tutorials and how to’s, as guidance. There are many suggestions as to how to make your skirt, from short to long or even dresses. I disregarded 80% of what I read and winged it, which feels like my general approach to things.
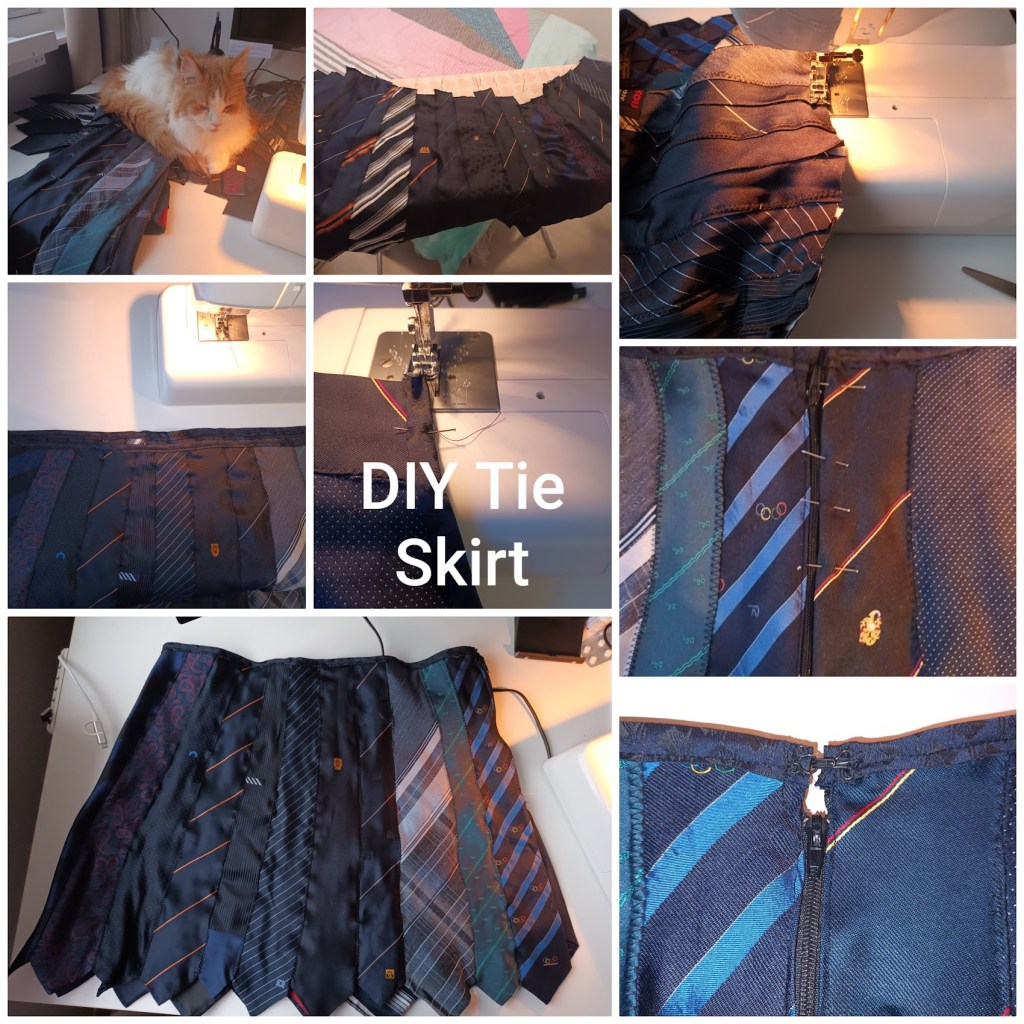
Step 1: Decide the thickness: Some people suggested pulling out of the lining (making it thinner), completely pulling it apart and ironing it flat (making it 1 layer) and much wider. I live in a semi cold country and liked the idea of layers or simply a tie in its construction. If you do decide to use the entire tie, ensure that the back of the tie is sewn together/down, as you dont want it falling apart later.
There should probably be a note here about how many ties do you need? This is all based on your personal size. I read someone say 14, I would say this is not a one number fits all. If you’re a small-medium, 10-14 ties should work, if you’re larger than aim for 16+. Pin all of your ties together and see how it fits against you, is the simplest way to see how many ties you need.
Step 2: Decide the length: How long do you want your skirt to be? You decide how long you want it to be, from using the whole tie to making a midi or even mini skirt. I choose 17 inches (43cms) as the right length for me. This will not be the final length, as you have to take into account trimming, etc.
Decide how you want to cut the ties. I know this sounds a bit “eh?” but not all ties are created equally. What I realised is that the point of the ties sit at different lengths so if you measure if from the point of the tie or at the base above the point, I choose the base. (Actually I didn’t initially think about this but realised it later when I started to pin all the ties together.) KEEP the leftover bits of a few ties or pick 1, refer to step 7.

Step 3: Start assembling your skirt. Decide the pattern or how you want the ties to look in the finished skirt. Decide if you want the zipper at the side or on the back. For me it made no real difference, so Ive put it at the side but it can also be worn at the back if I choose.
Decide how much overlap you want on your ties. Pin it where you want it. I started at the bottom to get the straight line of the base of the ties. What I noticed when I originally did it based on the points, was that the bases start at different points, for me it didn’t look aligned, so I swapped to the base of the tie instead for better alignment/visual apeasement.
I decided to go with a small overlap, as I quite like the visual of a whole tie. I would say try different overlaps and see what you prefer more. Obviously, the bigger the overlap, the more ties you will need.
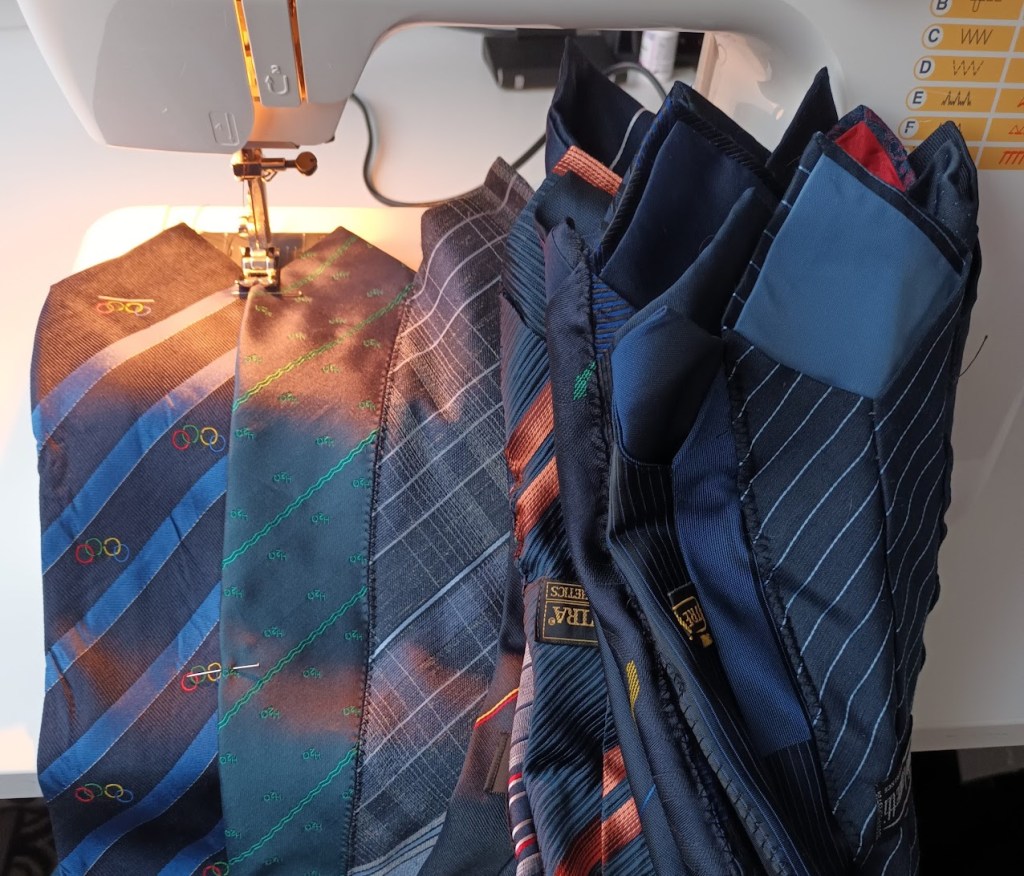
Step 4: Sewing your skirt. I found it easiest to work in sections. I also found that I got a better alignment/straight line of the bases when I started sewing from the base up to the slimmer part of the tie. My sections were roughly 6 ties at a time. I then rolled them up (as per the photo below) to get them to go through the sewing machine. I have no doubt that I could have made this easier for my self by sewing left to right but I cant remember a time in my life when I made things easy for myself.
I used a zigzag stitch.
Step 5: Measure the skirt. This is a step that I should have included but I didn’t. Or even after getting 3/4 done with the skirt, measure it to your waist to ensure the fit.
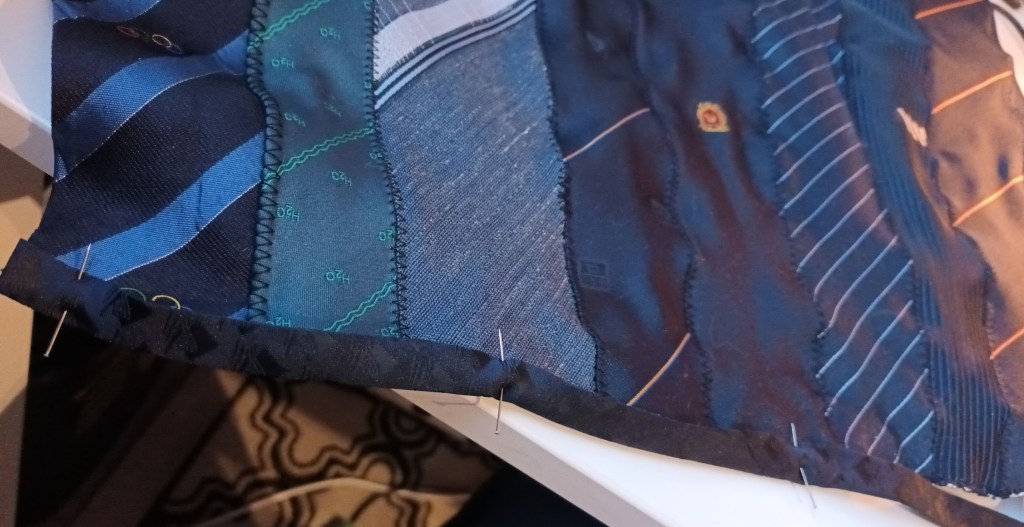
Step 6: Aligning the top of the skirt. Even though you cut the ties to roughly the same length (17ins/43cms for me) because the bases are at different points, the top of your skirt is not even. This is where I got out a ruler and some chalk and truly hoped for the best. Even with a ruler, I am incapable of drawing a straight line and even worse with cutting one. Watch out when cutting the ends of the skirt, as the ties are folded and will cut with a V shape rather than straight. I would suggest not cutting the ends with the rest of the skirt and flattening out the skirt and cutting straight across. I finished off with a zigzag stitch across the top of all of the ties.
This is also a key point to check the size and make sure it fits you! As you are going into the final steps of finishing the skirt.

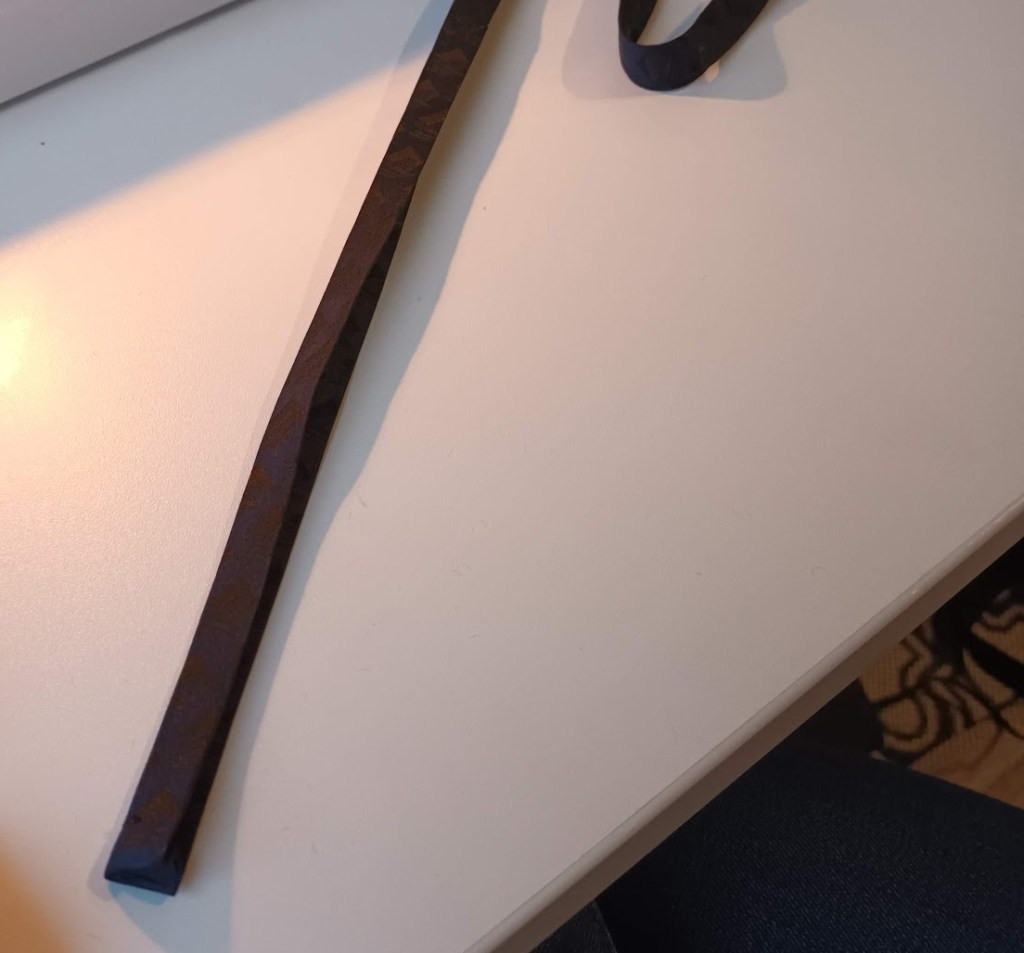
Step 7: Border. As you dont want a raw hem at the top of your skirt, you need to put a border/edge/call it whatever you like over this. I took the left over of a tie (the police department tie to be specific) and made it into an edge. I wont lie, it seems a very easy task but it took me much longer than I thought it would. Also as it was the left over of the tie, I had to cut it in half width wise and sew it together, to get the overall length that I needed. I then pinned and sewed this onto the top of the skirt.

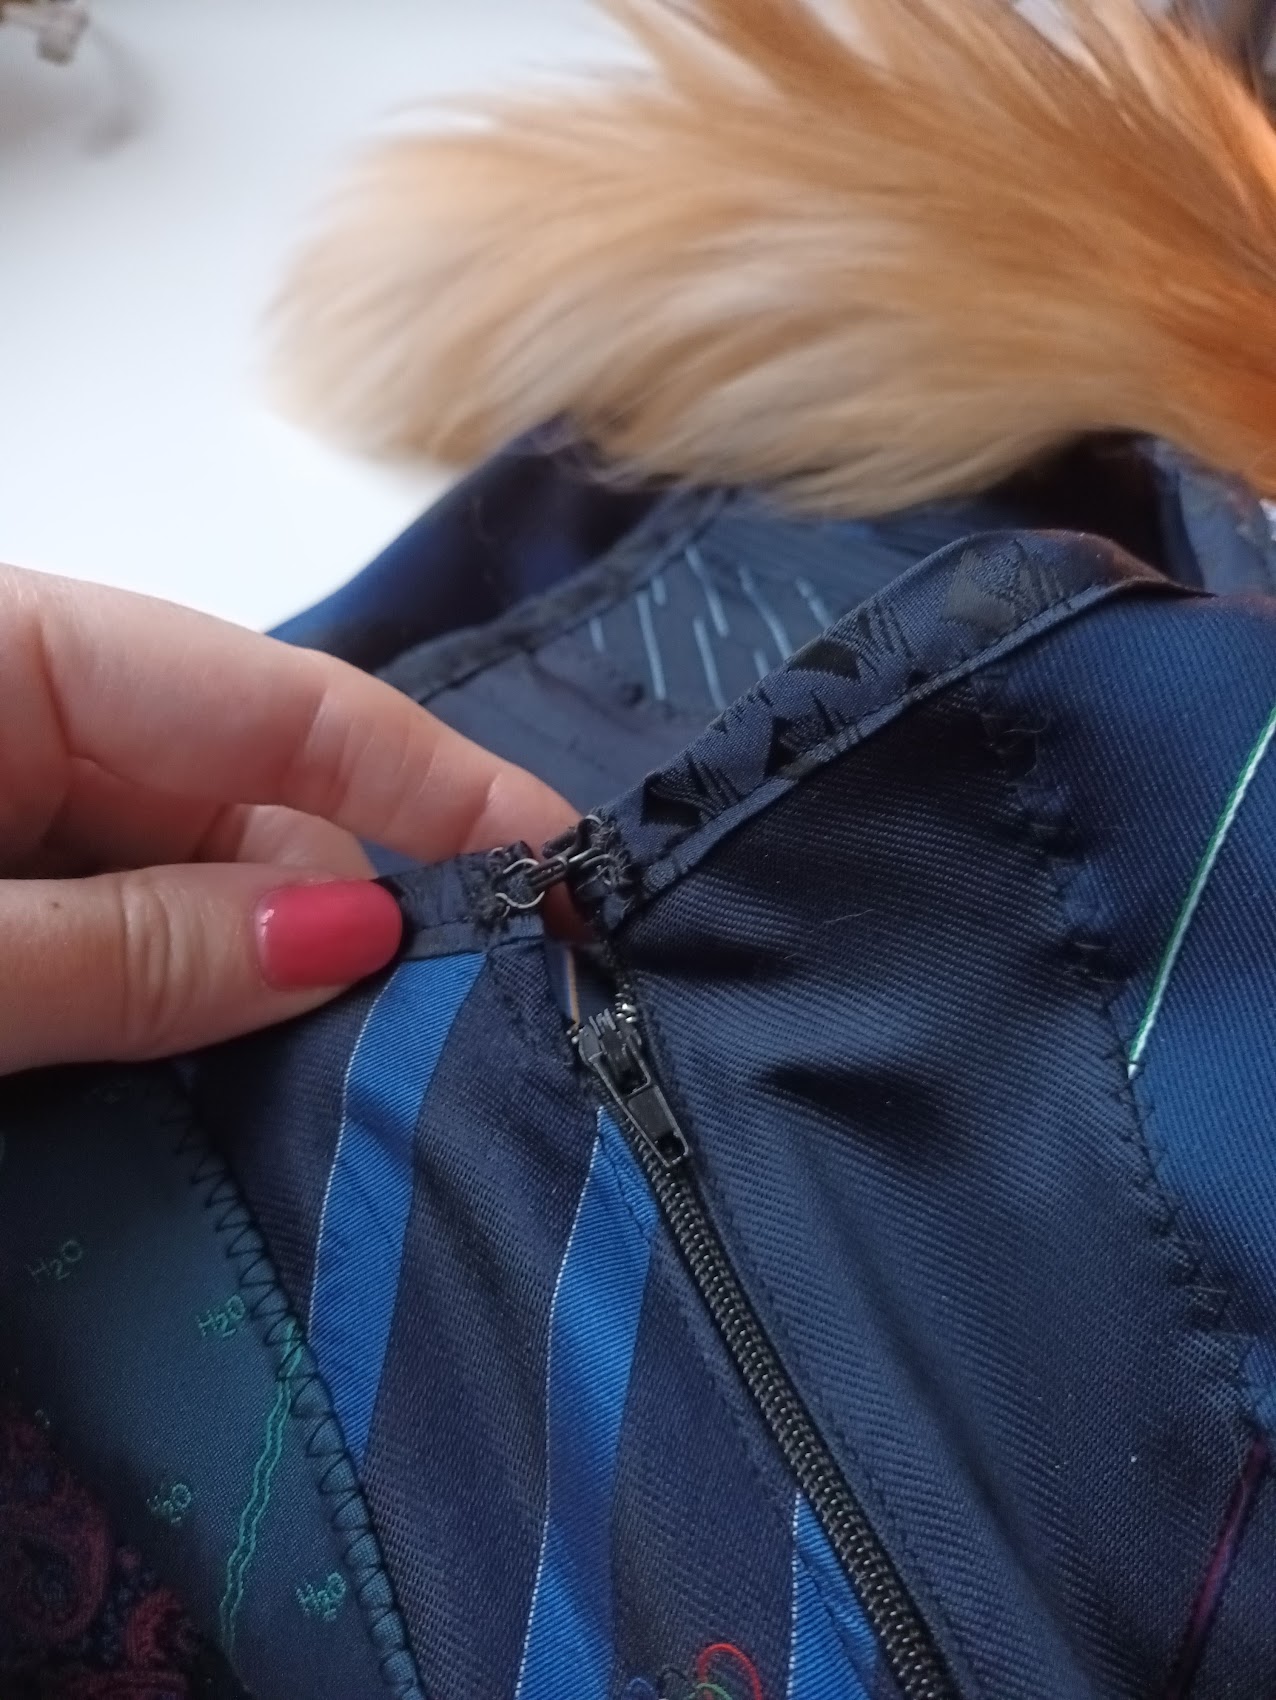
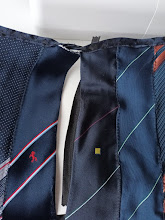
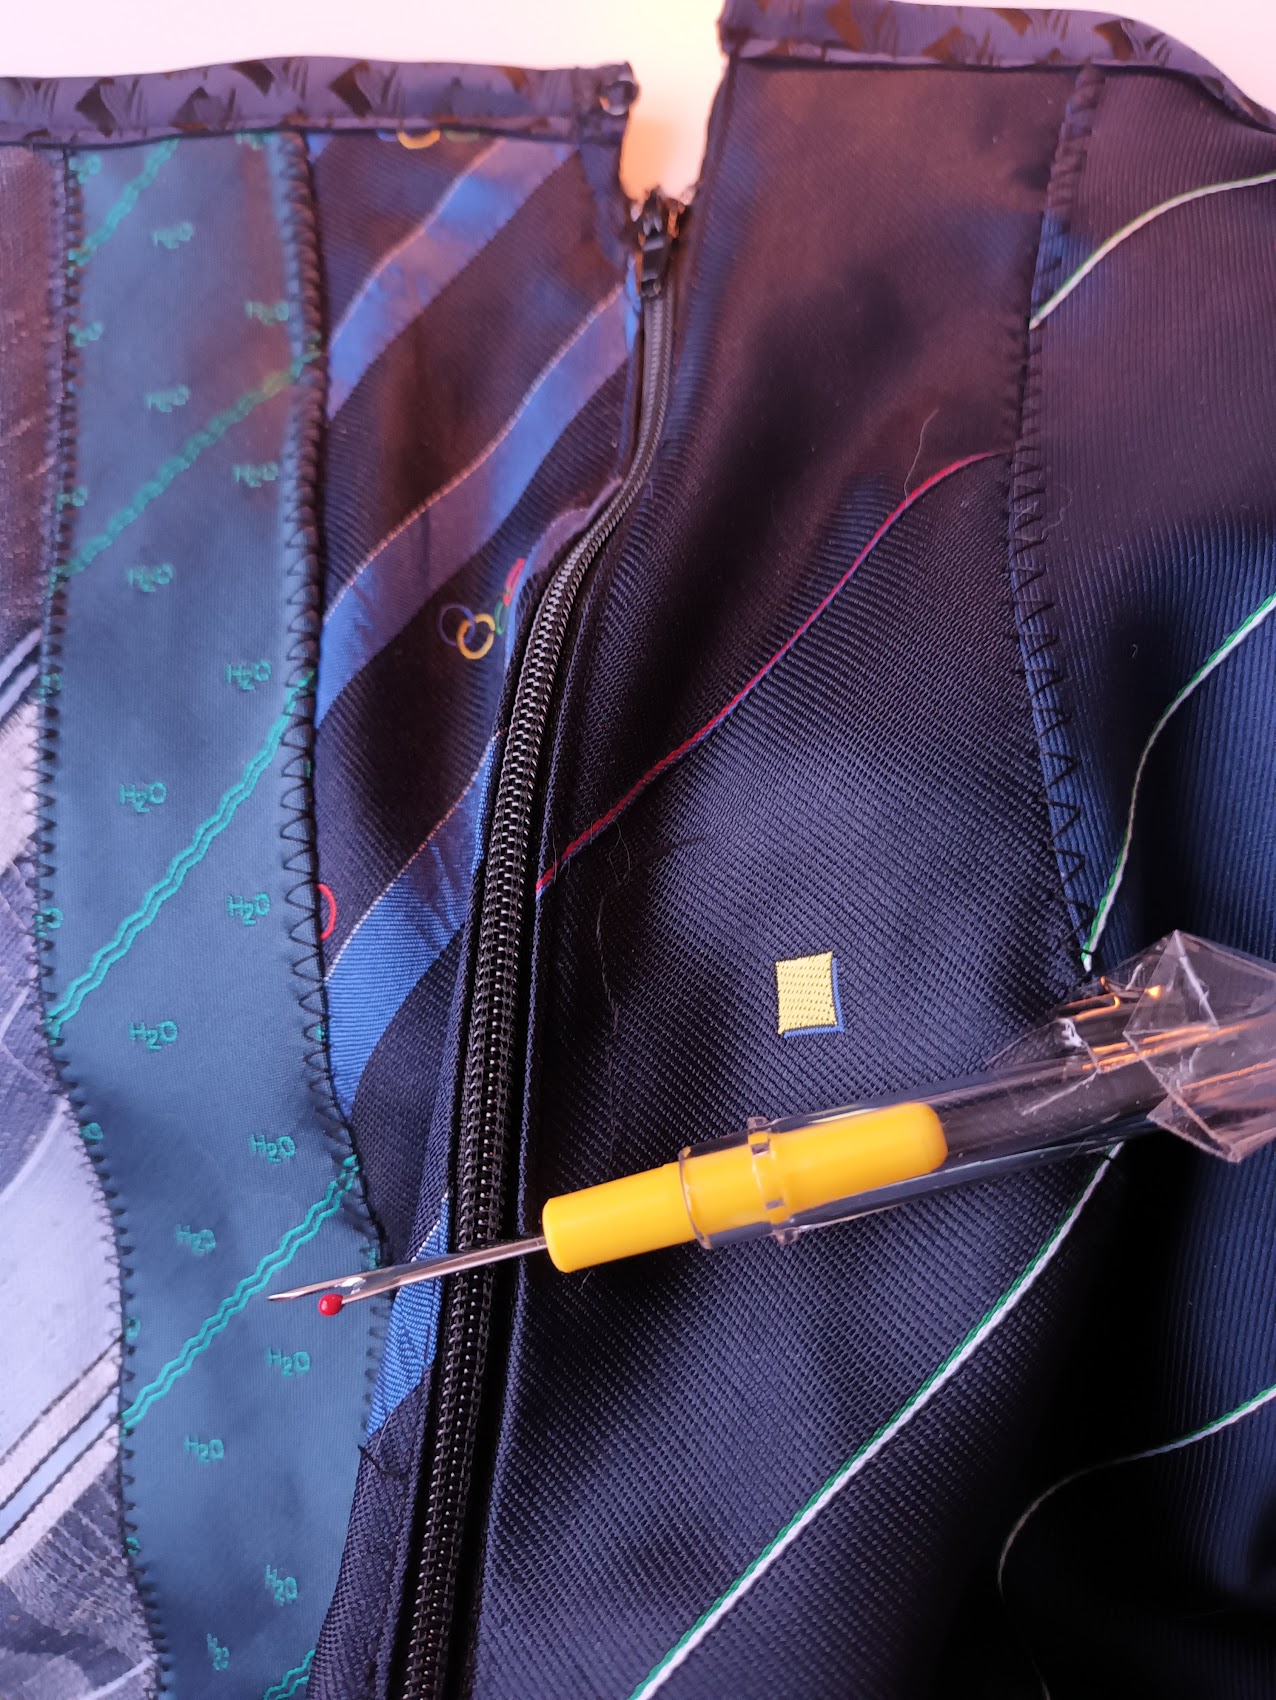
Step 8. Finishing off the skirt, Zipper and hook and eye. Pin and sew in the zipper. Then overlap the last 2 ties and sew together to complete the skirt (below the zipper). I then added on a hook and eye fastening at the top. (Of course, nothing is completed in my house without the help of cats and lots of cat hair, refer to below picture)


Step 9: Try on your skirt and be very impressed with yourself.
Im not going to lie, this the step that I should have been doing all along (trying on) and didn’t…. and when I went to try on the skirt, it was far to big. So I removed some ties, tried it again and then realised that I had sewn on my zipper at an angle and it was visibly not aligned. Third time lucky and I was able to call it done.


I didn’t realise that I had done roughly 90% of the work when I had started the skirt last year. It was relatively quick for me finish off, however, as you can read, it wasn’t without incident and many mishaps. I was so pleased with the first skirt, so that I have started my second, with a more fun theme.

Im now 90%ish done with the second, it seems I learnt quite a lot from the first and have been able to power through the second.
I hope you have as much fun making your skirt as I had with mine and hopefully less errors / mistakes / mismeasurements along the way!

Leave a comment