
A all natural tinted yummy lip balm.
I know Ive previously done two other lip balms but this weekend I had lip balm on my mind. I wanted something different and yummy, something that will leave you wanting to lick your lips whilst nourishing them at the same time. Ive come up with a fruity strawberry lip balm using freeze dried strawberries (NEVER use fresh/frozen). After seeing the sites of Amsterdam, I came home and made these at 11pm, thats just how Rock ‘N Roll I am!
The hardest part of this easy to follow tutorial is cleaning out the coffee grinder to remove all the pink dust! (you’ve been warned) You can use any freeze dried fruit for this recipe if you’re feeling adventurous, I bought it at my local grocery story but you can can buy it online or at local health-food store.
DIY Strawberry Lip Balm
Makes: 7 lip balms Making time: 30 mins Dry time: 24 hours minimum Overall time: 25 hours
- 1 tablespoon (14g) grated beeswax or beeswax pellets – I used yellow beeswax because its what I had
- 1 tablespoon (14g) shea butter
- 1/2 teaspoon sweet almond oil
- 1/2 teaspoon castor oil
- 5g Mango butter (I used a small piece from the pot)
- 1 tsp ground freeze dried strawberries
- 5 drops Vanilla essential oil (optional and honestly I cant tell that it makes any difference at all)
Now to make these nourishing balms
1. Over a ban marie or double boiler (or cheat like I do and use a milk jug in a pan with water) add the beeswax, shea butter, almond oil, castor oil and mango butter in a small heat proof bowl. Bring the water to the boil and then allow to simmer, until the mixture is just melted. You can stir the mixture but you dont need to stir it constantly.


2. Whilst your oils and butter are melting together, get your lip balm containers ready. I find it easy to put five (5) together and wrap a rubber band (loom bands work perfectly) around them, this stops them falling over when filling them. I also like to put them in a small plastic container, so that if there is any spillage, its contained. I find it easier to use my Pyrex jug making lip balm, as the spout on the jug allows for easy pouring.
3. Grind down your strawberries. (Remember you cannot use fresh/frozen strawberries, they must be freeze dried) I used a coffee grinder but a pestle and mortar also works. My coffee grinder is specifically for my hobbies but cleaning it after the strawberries was quite the mess – be sure to scrape it all out! As you can see, the strawberries didn’t entirely grind down, so you will need a small sieve for the next step.


4. Once the lip balm mixture has fully melted, turn off heat and take container out of the pan. Put your small sieve over the container and pour in the ground strawberries and sieve them, discarding any left over chunks you may have. Give it stir. Allow your mixture to slightly cool, now add in the vanilla essential oil if using. If it you let it sit, you will notice it starts to seperate, STIR IT.


5. Pour the mixture into the lip balm tubes and allow to cool completely. Between Do NOT pour all of the mixture into the tubes (leave 1-2 teaspoons spare). As your mixture cools, A (small) depression will form in the center, use the spare balm that you didn’t use to fill this in, leaving a even finish. Simply reheat the leftover balm and top up the tubes. Allow your lip balms to set over night.


Technically now you are done with your lip balm, HORRAY. Like last time, I decided to take it a step further and created the labels for the tubes. I have glossy adhesive sheets, which were perfect for this! Be sure to clean the outside of your tubes before applying the labels! You will have drips and this will affect the adhesion!
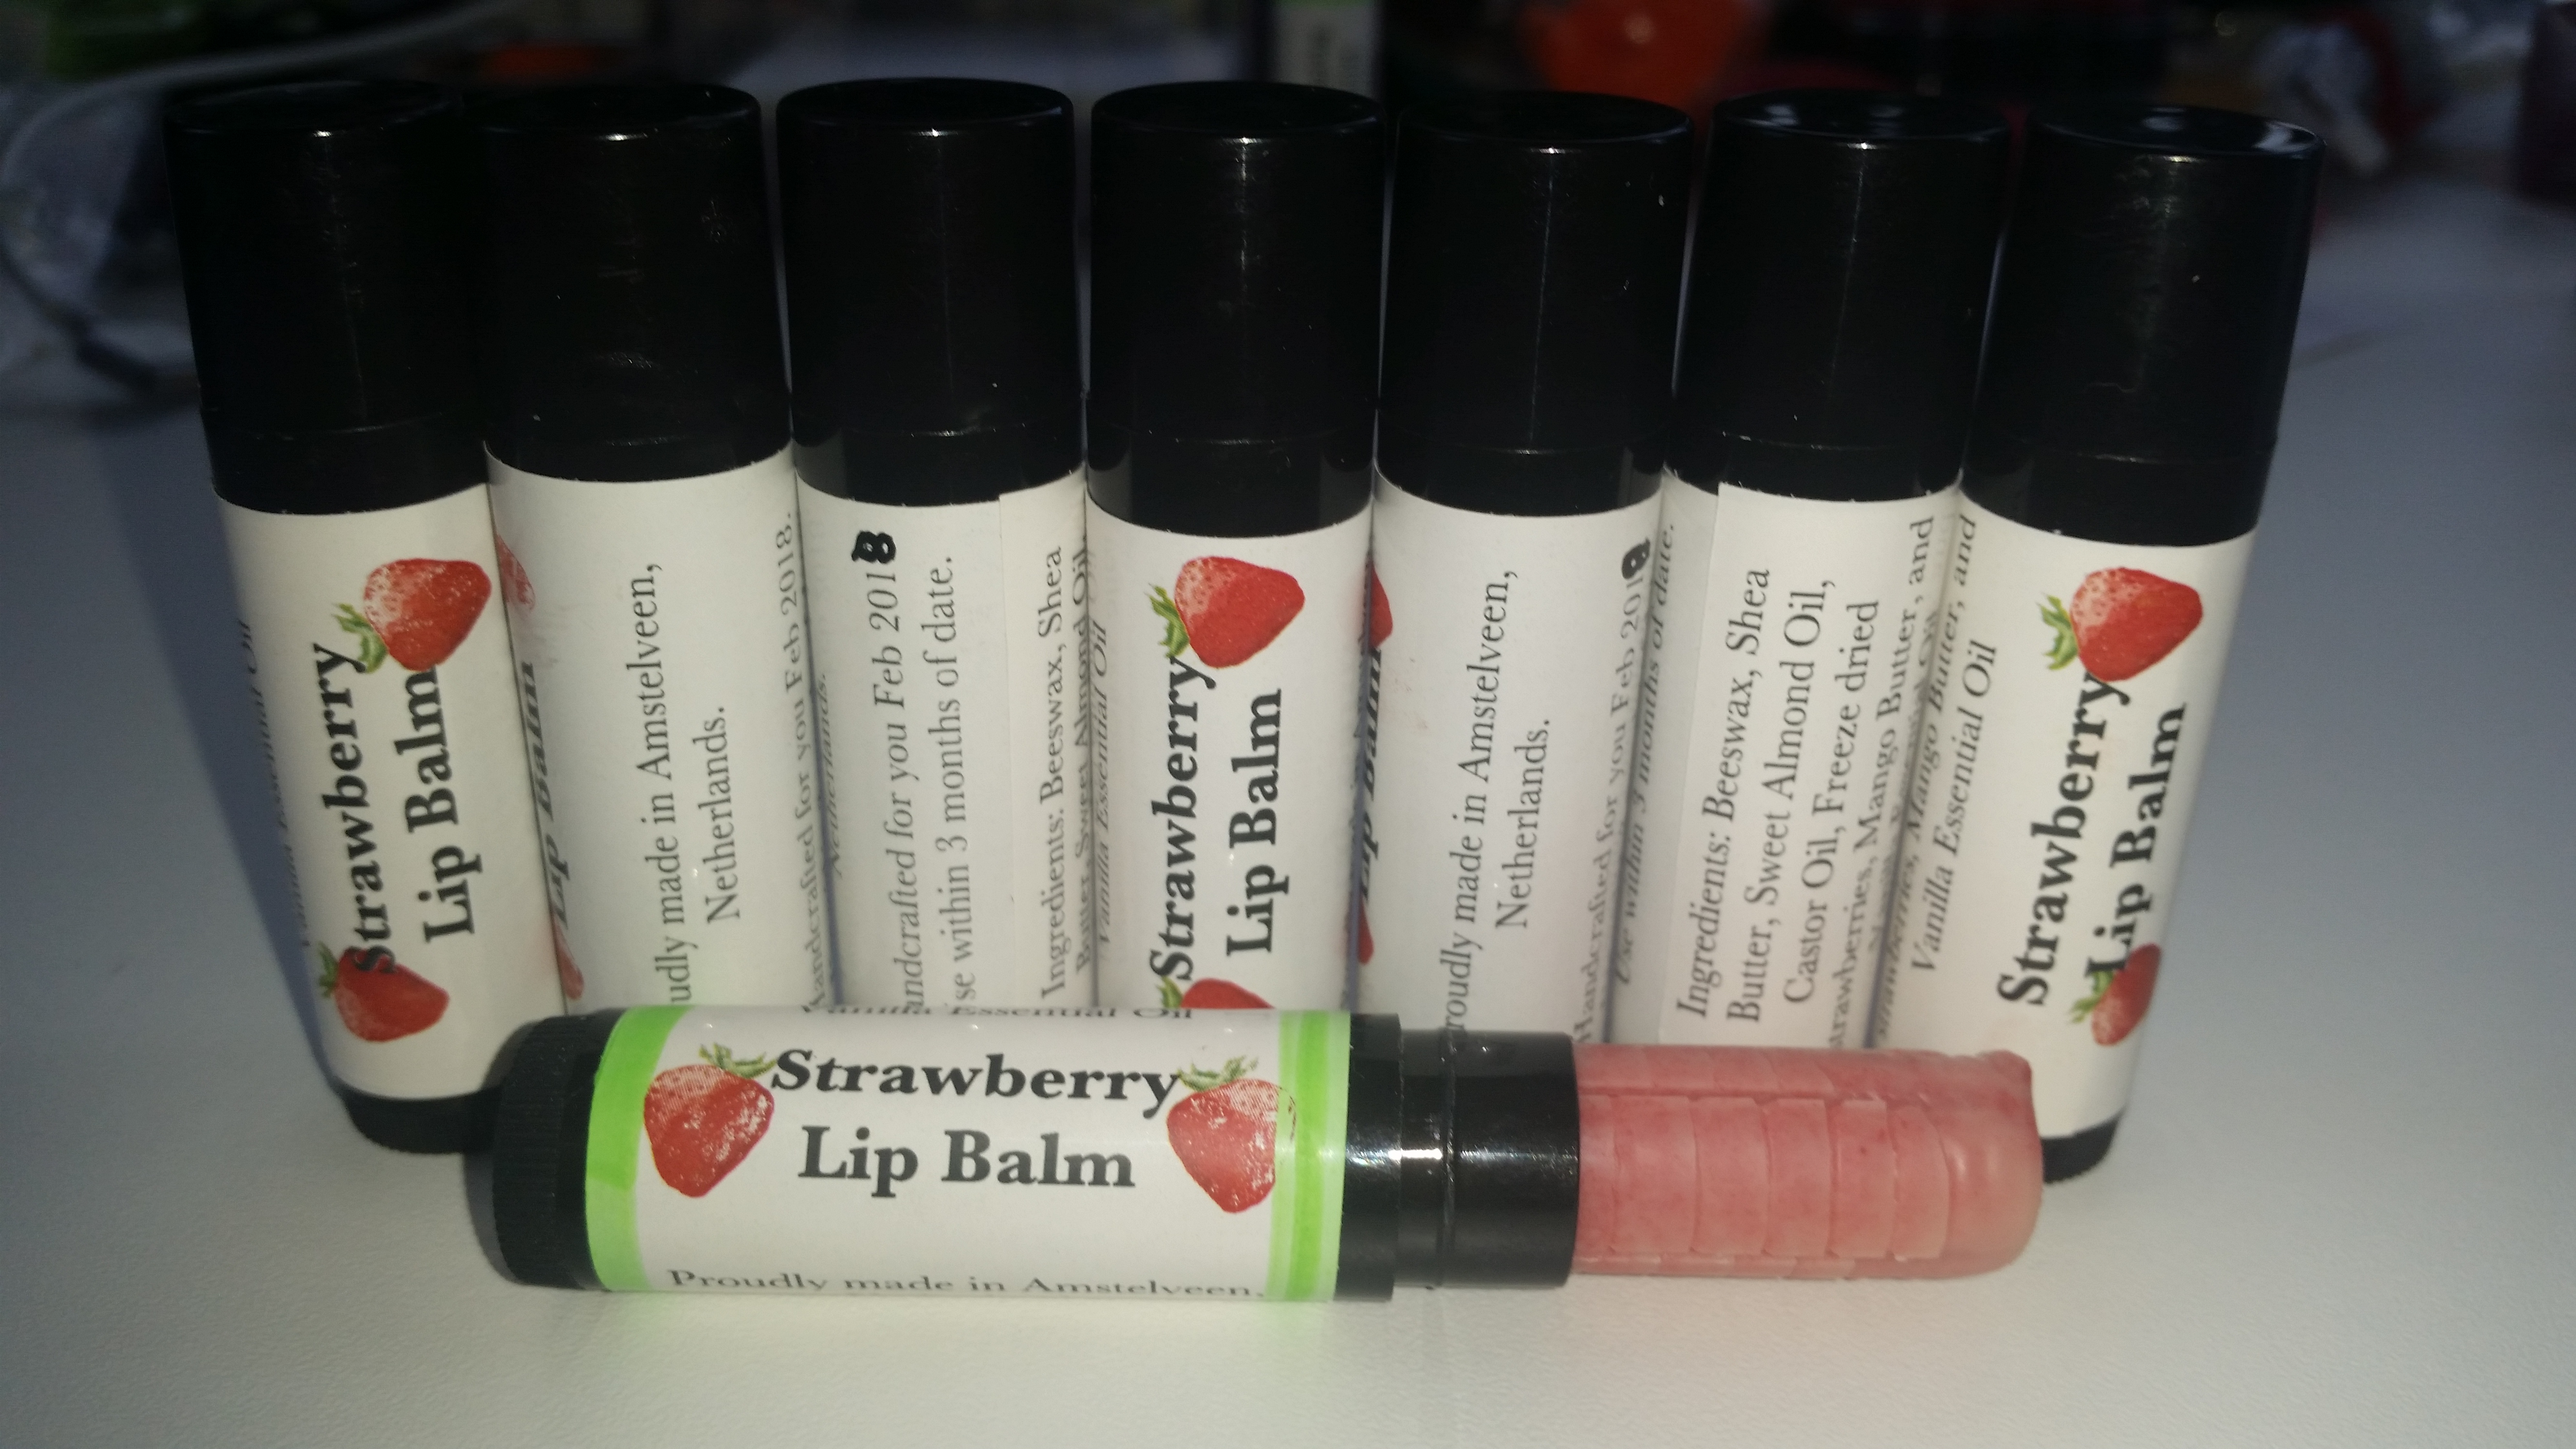
These are my finished all natural tinted yummy strawberry lip balm.
Remember to share with friends! 🙂

Leave a comment